Posted on Leave a comment

weave a fabric task-it basket

Over 10 years ago I tried weaving fabric strips into a basket.  I had no idea how to weave a basket, but I knew how to create fabric strips.  My inspiration was a ceramic dish I purchased while we were living in Italy.  I wanted to figure out a way to make a fabric version for use in my studio to store all those little things.   I found a tutorial using old maps and was able to adapt it to the fabric strips.   

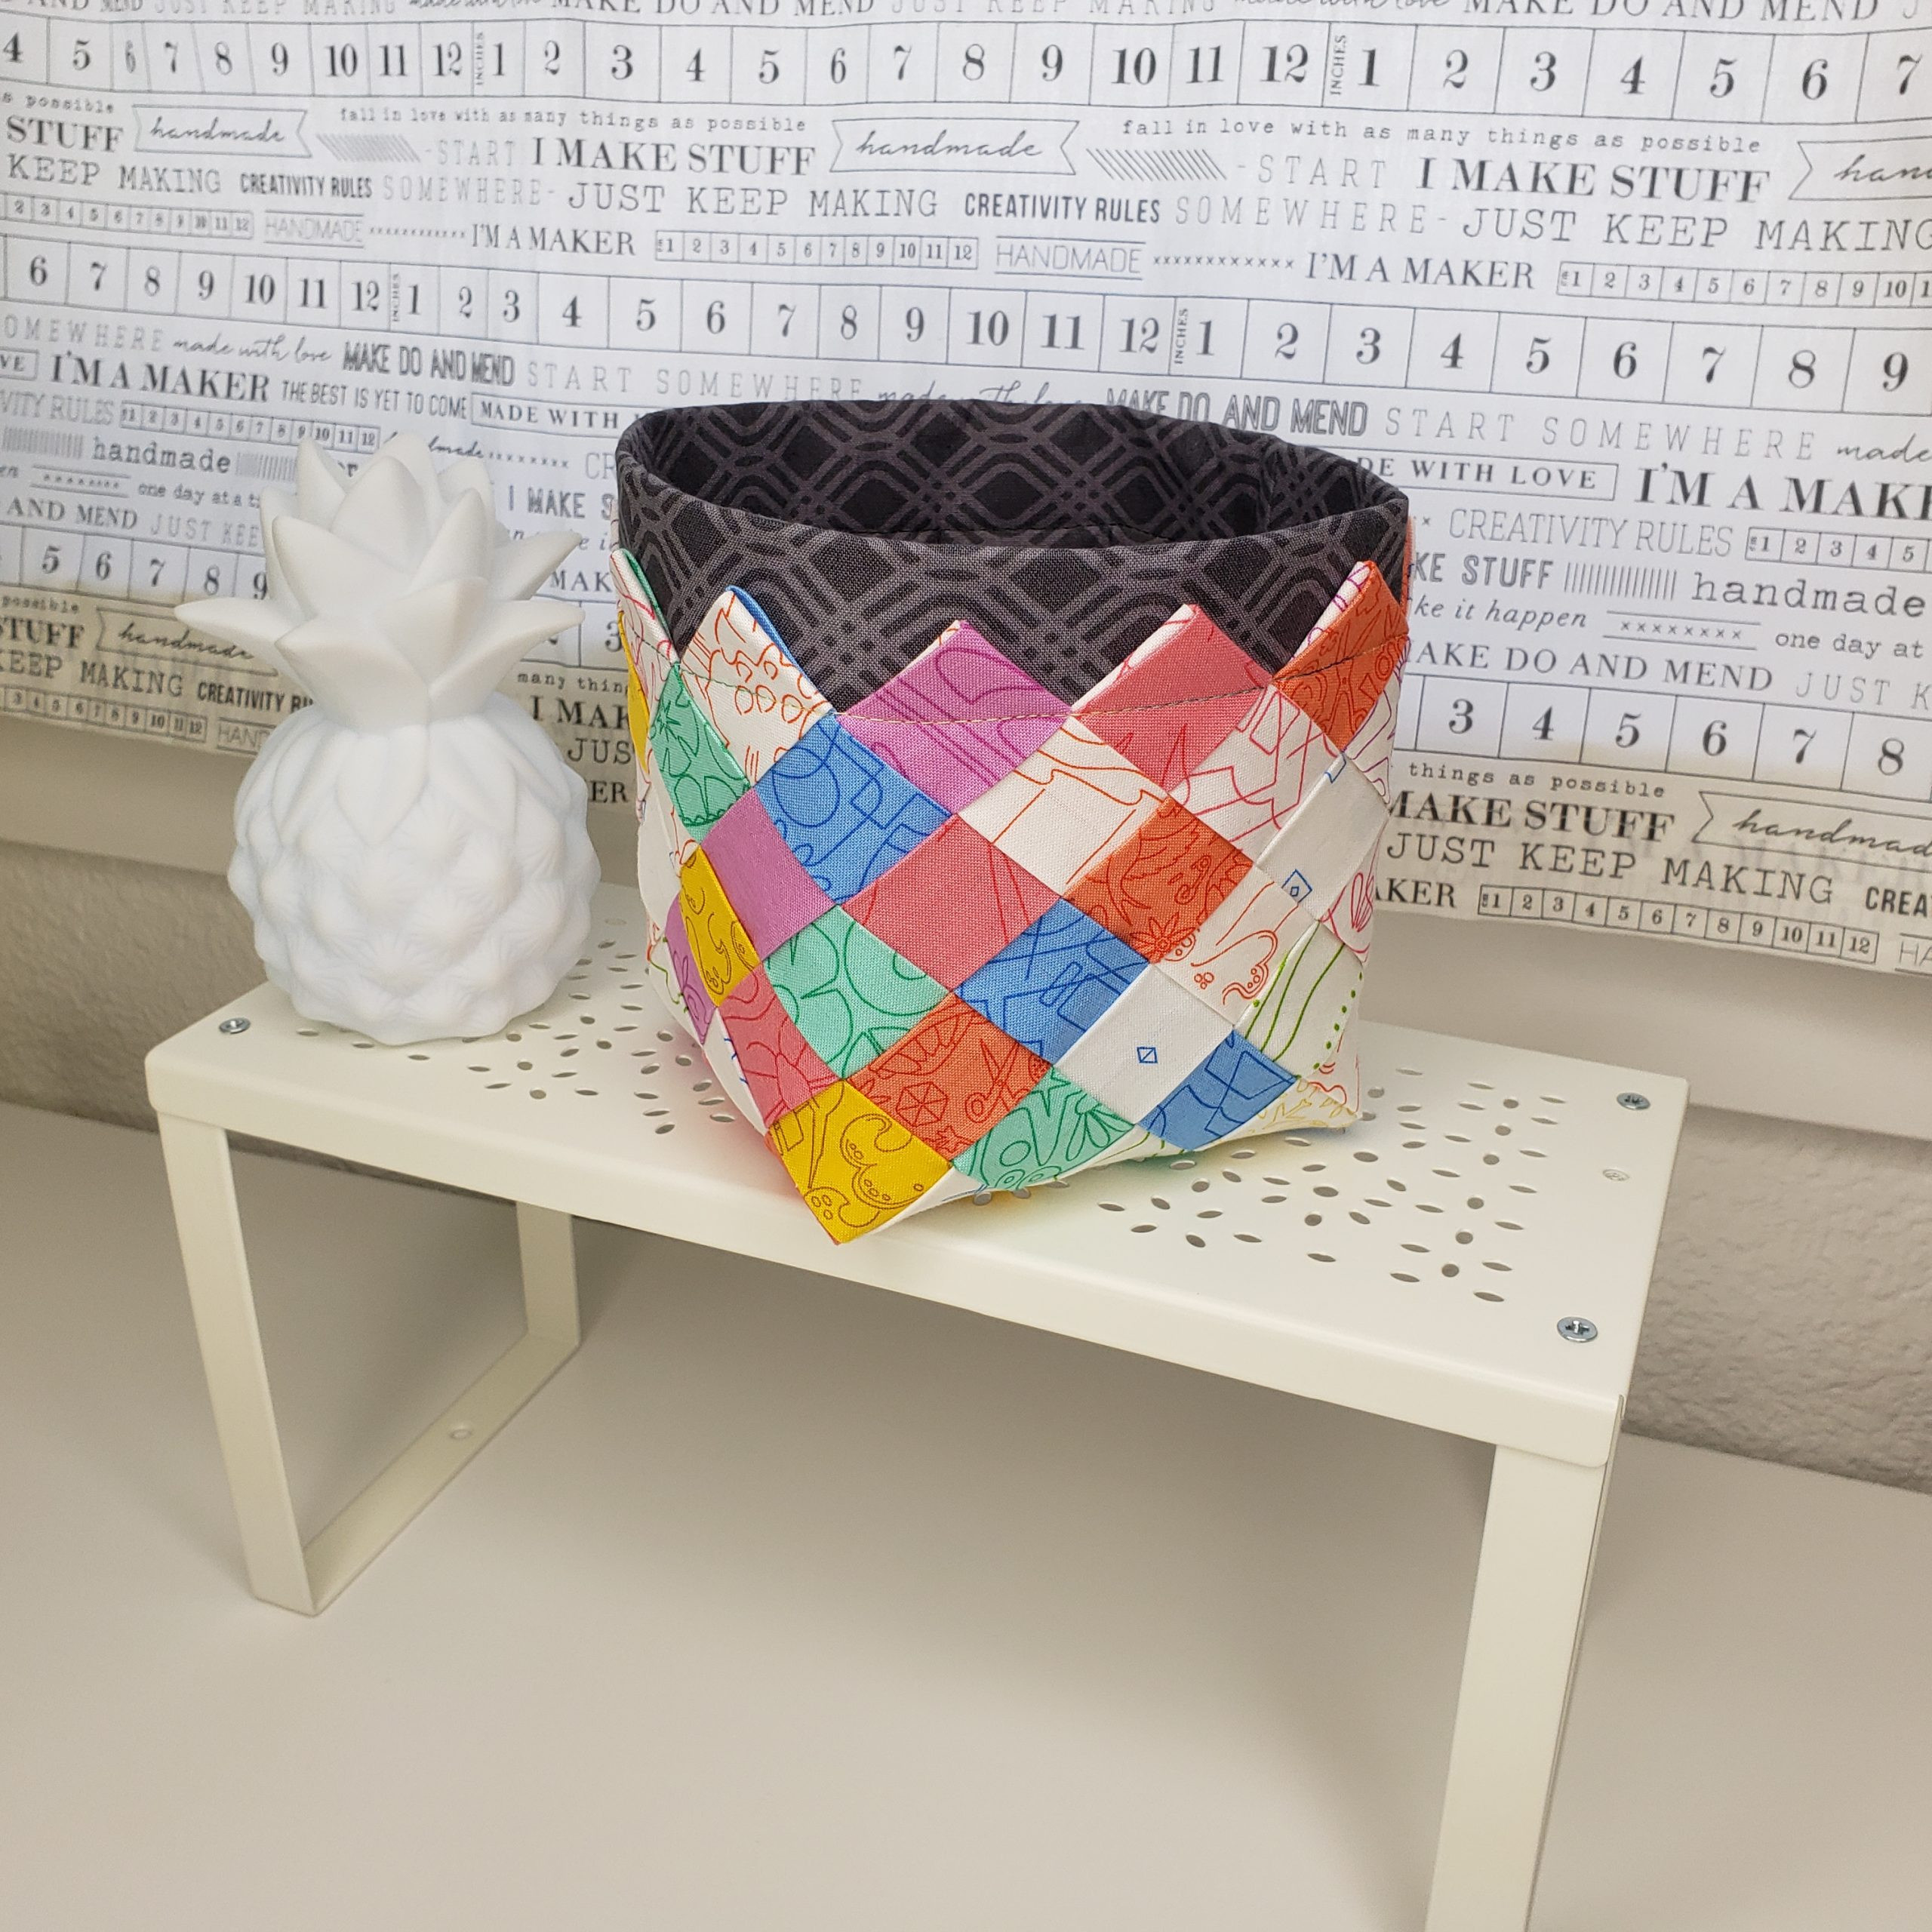
Here is my adaptation of the woven basket.  

I love making these little baskets and will be making more and experimenting with the size and lining for different purposes.  

Task-it basket

Recipe by TriniaBDifficulty: Intermediate

Strips of fabric are woven to create a versatile basket for holding all your "eggs". The basket can be upsized using larger strips of fabric and increasing the size of the lining.

What you will need:

  • Materials
  • 12 fabric strips cut 2 inches wide & 22 inches long

  • Fusible web for medium fabrics (e.g., Dritz 5/8 inch x 18 yard roll precut OR  Pellon / HeatnBond 1 1/2 yards cut into 5/8 inch strips)

  • 2 fabric lining pieces cut 9 1/2 x 9 3/4 inch

  • 2 fusible interfacing pieces cut 9 1/2 x 8 3/4 inch (Pellon Decor Bond 809)

  • Tools
  • Pressing Iron and thick pressing mat

  • Parchment paper or Pressing Sheet

  • 25 mm bias tape maker

  • straight pins

  • craft clips

  • craft tweezers

Instructions

  • Press strips using bias tape maker.  Try to minimize the gap at center by meeting the raw edges without overlapping them.
    Pressing Strips
  • Cut fusible web to length of strips.  Insert into folds of each strip. Remove paper backing if necessary.  Press into place using parchment or pressing sheet to prevent fusible from getting on iron or pressing surface.
  • Arrange strips 6 vertical and 6 horizontal wrong side up.
  • Weave over / under (see Notes) Minimize the gap so edges of strips are touching and woven tightly but laying flat. Pin in place.
  • Place a small square of fusible between the intersecting strips on the outside edge of the weave.  Press in place making sure the strips are fused at the intersections.
    Continue placing small squares of fusible between the intersecting strips in an X pattern throughout the weave.  Press in place making sure the strips are fused at the intersections.
    You can place smalls squares of fusible between the remaining intersections if desired.  Press in place to make sure all strips are fused at the intersections.
    Remove pins and turn the piece over, right side up.
  • Start weaving to create the basket corners.
    Find the center of each side and weave strips in a continuing over / under pattern and clip in place.
  • Continue weaving up the sides from the created corners to the desired height.
    At the top, fold the strip over to the inside and weave under the next strip on inside of basket. Secure with craft clip.
    Adjust any loose strips and refold the top securing with a craft clip.
    Make the lining....
    Press fusible interfacing to wrong side of both fabric lining panels aligning the interfacing to one end of the fabric lining.
  • With right sides together, stitch fabric lining panels together, stitch sides and bottom, leaving one short edge unstitched.
  • Mark a 2 1/4 inch corner from raw edge of stitched corners.
  • Cut on marked line through both layers. Press seams open.

  • Align seam centers of cutout right sides together, matching raw edges of cutout. Clip in place
  • Stitch 1/4 inch seam along cut edge from fold to fold with seams aligned at center.
  • Fold over top, wrong sides together, at edge of interfacing. Press.
  • Fold over folded edge to 1 1/4 inch -1 1/2 inch. Make sure the folded edge comes down enough to be below the top of the woven basket edges. Press.
  • Set the lining into the woven basket. Set corners into corners of basket and even out top edge so it is even around the basket.
  • Pin in place. Stitch through all layers to secure lining to basket.

How-to video

Notes

  • The video shows how to weave the basket in a time compressed tutorial.
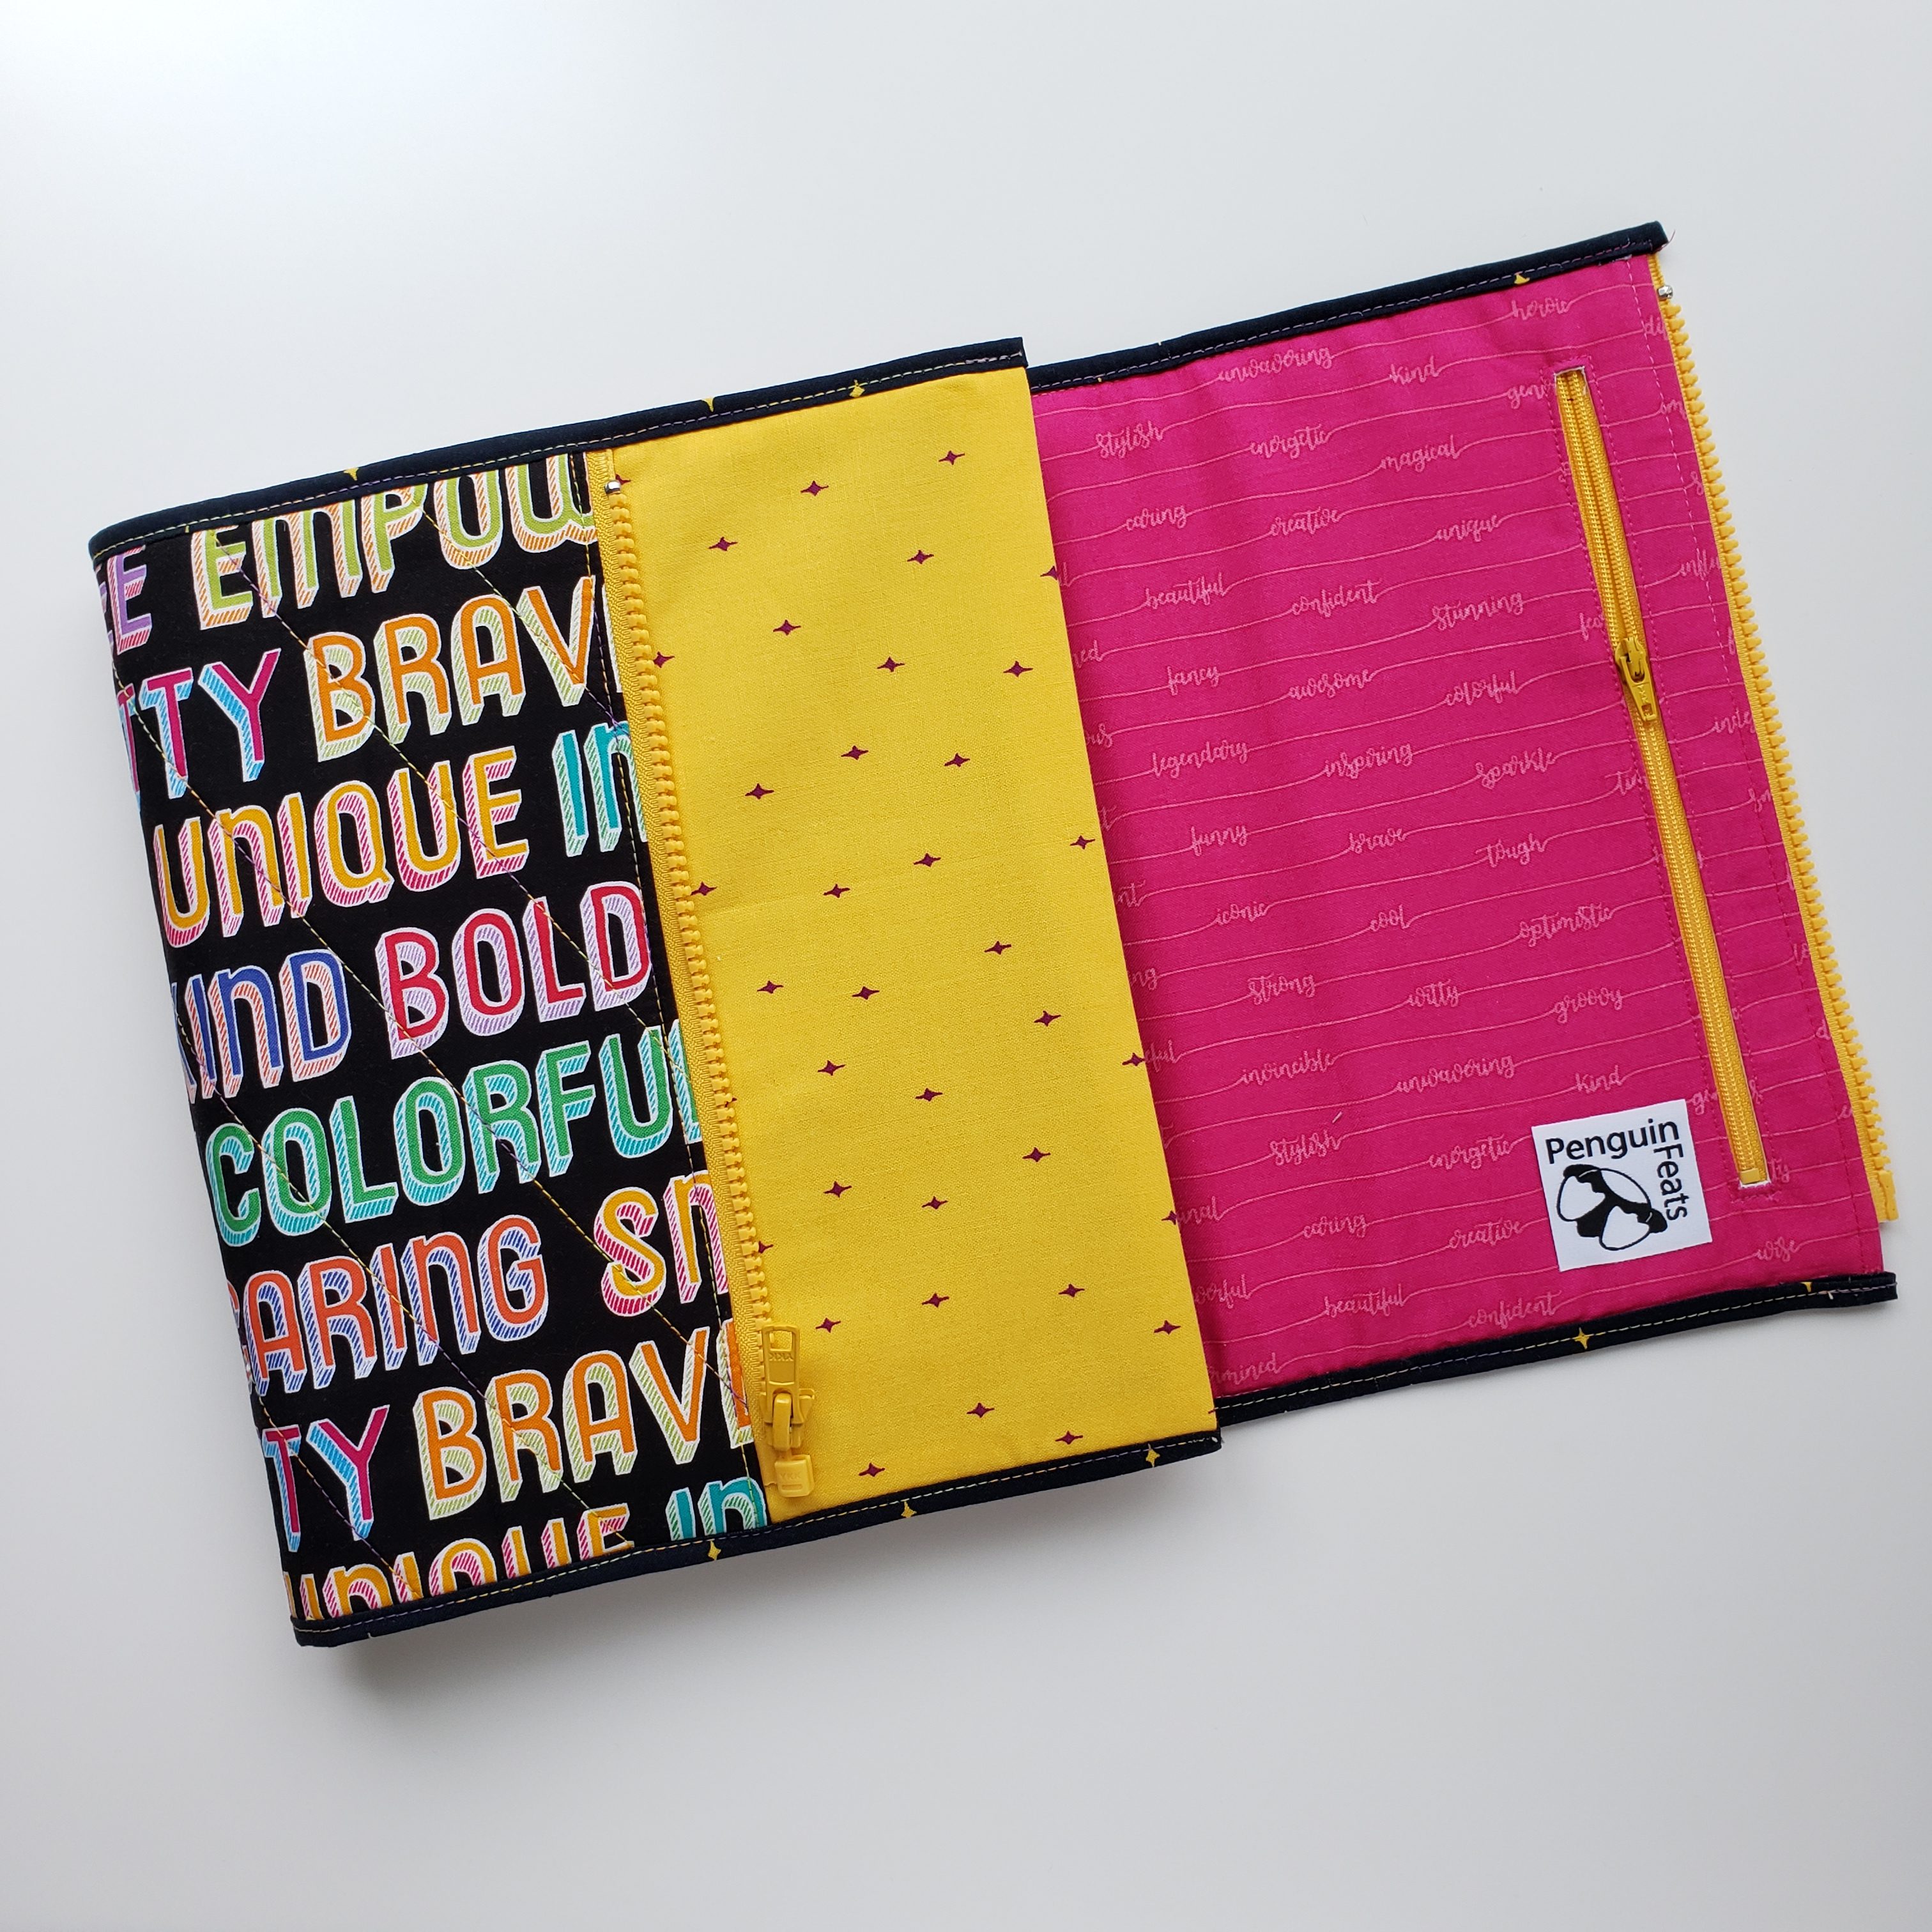
Posted on Leave a comment

Planning for 2020

This year has been a bit off course from what I imagined.  I have not completed the projects & goals I had for the year.  A new year is around the corner and life is settling down a bit here so it is the perfect time to step back and try this plan again….and maybe add some new ideas!

My 2020 Quilter’s Planner arrived last week, and I had a jacket all ready for it.


This new jacket has a different edge.  I tried a finish with binding for a new look.  I am working on a rewrite of the Sketchbook Jacket pattern to include this as an option.  You can get the current PDF version of the Sketchbook Jacket pattern in my Payhip shop HERE.  I will post an update for the pattern when the bound version is included.

I ordered the unbound planner, which came without a cover.  Of course I had to make a rigid cover for the planner to fit in its quilted jacket.  I experimented with pieces of fabric between the laminate sheets.  I made a few different ones and so far they are all holding up to the punch.  the 10 mil was the perfect thickness for the covers too….and look at the fabric in there…all safe and protected.  Learning to laminate with 10 mil was fun.  Now I want to laminate all the things!!


I am so excited to plan 2020 with the new options in the Quilter’s Planner.  The dot grid & graph paper pages are going to push me to get my ideas down so I can work them into my plans.

There is so much to look forward to in 2020. What are you most looking forward to in your 2020?


Posted on 1 Comment

Making it stick

Stickers!

I have a thing for stickers and I cannot lie.  I have been experimenting with different ways to create custom helpers for my Quilter’s Planner.  Some have worked great, some not so great.

My first try was to create mini stickers to help keep up with my sewing and quilting tasks.

These stickers are perfect for placing and creating lists in my planner.  I use them in the weekly layout columns to schedule time with my sewing machine, cutting table, and sewing prep.  I have not quite figured out how to create a cut file for these, so for now I cut them with scissors to fit in my planner pages.

Then I tried to create a printable sticker for formatted sticker pages in circles & rectangles.

These little stickers are formatted to print on Avery sticker pages so no cutting is necessary.

And then I wanted to create stickers out of printed graphics & text for inspirational quotes throughout my planner.  This led me to use my Xyron Creative Station.  I printed text on colored paper and then cut them into fun shapes.  After running them through my little sticker maker I was able to apply them to my goals page to give me extra inspiration to keep going back and visiting my goals page for motivation.

I have since been able to add lots of little motivational stickers through my planner pages to boost my planning goals.

BONUS…a little page of sticker notes to help you plan your sewing & quilting to-do’s.  This is a PDF download and can be printed on sticker paper and cut, or, you can print on paper and make stickers with your sticker machine.  Click HERE to get the PDF.


Click image to get the PDF


I hope you find a little inspiration to help you motivate yourself in the pages of your planner.

Posted on 42 Comments

Twin Jackets!!

I couldn’t make just one.  Making two was sew much more fun!

Twin Jackets!!

warm quilted jacket


cool quilted jacket

Almost identical…one warm, one cool.  I dug into my stash of Alison Glass fabric to create these quilted jackets using my Sketchbook Jacket pattern.  The quilted jackets are custom made for and wrapped around a 2019 Quilter’s Planner.  Which is your favorite?I have been cooking these jackets up just for you! 

YES!  I want to give these jackets…with a 2019 Quilter’s Planner in each…to YOU!

This giveaway is two parts>  one part blog and one part Instagram.


Each package includes:

2019 Quilter’s Planner with custom jacket
the Quilter’s Planner Magazine
Quilter’s Planner Mini planner
Pollen Pillow EPP set


One package will be given to a randomly drawn comment on each post [one from this blog post & one from this Instagram post]

You can comment on both posts [duplicate draws will be redrawn]

Random draw will be Tuesday 23 October 2018 at 7:30 pm PDT.

Here’s how you do it…

  1. Comment here with your email address and/or on the Instagram post.
  2. Tag friends on the Instagram post. Share this blog post on Facebook, Pinterest, or Email using the links at the end of the post.
  3. Follow me>>Penguin Feats on Instagram  and if you are sew inclined to follow the blog using the Subscribe box in the column to the right>>>
  4. Share the love by following The Quilter’s Planner on Instagram and visiting the Quilter’s Planner blog here!  There is a great troop there creating the beautiful planner to make 2019 the best year ever!

*must be 18 years or older to enter
*this giveaway is in no way endorsed, administered, sponsored by, or associated with Instagram.  

A random comment has been drawn.  The email requesting shipping address has been sent.  Check your email.  If  there is no response by 25 October 8am PDT another comment will be randomly drawn.   

Congratulations to Cathy C.  Your package is on the way…and I hope it makes your 2019 amazing!! 

Posted on Leave a comment

planner jacket ‘mash up’

OH the excitement when the 2019 Quilter’s Planner arrived and I opened the beautiful box!!  The anticipation of its arrival was intense.  Not just because I have a quilt featured in the companion magazine, but, because I want 2019 to be better than 2018…and 2018 has been sooooooo good! 

the Five Star Flex notebook

I ordered the unbound version just to experiment with adding pages and extras to my planning pages.  I searched for a binder to accommodate the size of the planner and found the Five Star Flex.  It is a bit smaller than a regular 3 ring binder so it didn’t bulk up my planner more than I wanted a binder to.  The 3 rings are a perfect match for the unbound planner which arrives pre-punched for a standard 3 ring binder.  The rings on the planner are flexible and I haven’t decided if they are a positive or negative yet.  

The front and back cover of the flex notebook didn’t quite cover the planner tabs.  I purchased some inexpensive chipboard and punched holes in it to create a more rigid cover and back .  The more rigid cover now extends out over my planner edge to protect the tabs.  

I knew I wanted to create a quilted Sketchbook Jacket for my planner.  I always put a jacket on my sketchbooks and planners…it keeps all the papers in and I have a way to zip it up and take it with me.  The Sketchbook Jacket PDF pattern is available on Payhip or in my Etsy Shop.   

I was racking my brain for a month trying to come up with a mantra like cover design for my planner and remembered  the fun Alphabet Spools pattern I had purchased from Quiet Play last year.  Those spools with the little alphabet letters were just waiting for me to work them into a project!  I love the little letters and how they sit perfectly in the spools…but I needed my spools to look more like my thread rack….

As you can see, I use Aurifil Thread.  The 50 & 40 wt. are my go-to threads for quilting, bag making, and all kinds of sewing.  And I needed the spools to be small enough to fit within the 11 inch cover of the jacket for the planner.  

Foundation paper piecing is probably my favorite quilting technique.  The detail you can get and the ability to scale the pattern gives me so much flexibility when designing a layout.   I reduced the Alphabet Spools pattern to 40% and created a new top & bottom for the green and orange to match my thread rack selection. 

I created a mini spool block without letters to fill in the blank space between my lettered spools.  This is a simple piecing pattern and I was able to vary the width of some of the blocks to show fuller and emptier spools…all in my favorite colors of course.  


The final ‘mash up’  of my Sketchbook Jacket & Alphabet Spools will be the perfect mantra cover for my Quilter’s Planner to keep me in the making mood for 2019.  What are you planning for 2019 to keep on track with your goals?  


Posted on 2 Comments

sewing stickers

I have been searching high and low for stickers to use in my planner that will fit my sewing related plans.  I have found a few, but, nothing that includes all the tasks we sewists like to plan and track.


I found these Avery labels and decided to try them.

[Avery 4222 3/4 inch glossy clear, round labels]
The Avery website has a template for these labels available for download in multiple formats.

I visited Creative Market and Shutterstock looking for vector icon images of sewing related items.  I found a few I thought had a good selection of the tools I use and downloaded them.  It was so easy and each set came in multiple formats for easy editing.

I was able to add some text and lines to each icon to make it my own.  It was a simple copy and past operation to get each new icon to fit into the template.  

Adding my logo to the mix of stickers should give me planning motivation for the business related work I need to get done.  At least that is the plan!

Some of the stickers are completely my own design and some are designed using the vector icons.

I have more ideas to make into stickers, but for now these will do…and I need to sew, sew, sew.


Right click on this image

click save image as

save to a folder and add it to your own sewing sticker set

Posted on 2 Comments

Fly Aweigh for the boyz….

Oh boyz…I finished two quilts this week…YAY!!  I have been so anxious to see them done!!!  And I am so happy with them.

Fly Aweigh Lattice
Fly Aweigh Lattice

I fell in love with this fabric designed by Samantha Walker for Riley Blake Designs called Fly Aweigh!  It just said boyz all over it for me!!  The adorable little planes, choppers, and boats caught my eye!  This with the tiny lobsters and waves make it the perfect fabric set for a little boyz quilt! What would make a better backing for these little quilts than the waves in flannel!!??!!

I was inspired by the Salt Air Lattice Quilt from Ashley at Mommy by Day Crafter by Night.  The simple lines, but complex lattice work seemed like a perfect fit for the Fly Aweigh fabrics.  The only difference is that I really wanted to make something smaller for a toddler.  So, I cut my squares at 6 inches instead of using the 10 inch layer cake in the Salt Air Lattice Quilt.  This allowed me to have the same number of blocks so the design could show and I was able to put a border around it without making it too big.

mosaic

The finished quilts are about 44 inches wide by 50 inches tall.  This a great nap size for a toddler or just a good cuddle blanket to keep warm.  The quilts will go to my nephews…one for a birthday this month and the other in a couple months.

I kept the quilting simple with a wave design that nearly matches the waves in the fabric.  But it gives it a good quilting pattern that is an allover look without distracting from the super cute fabric.