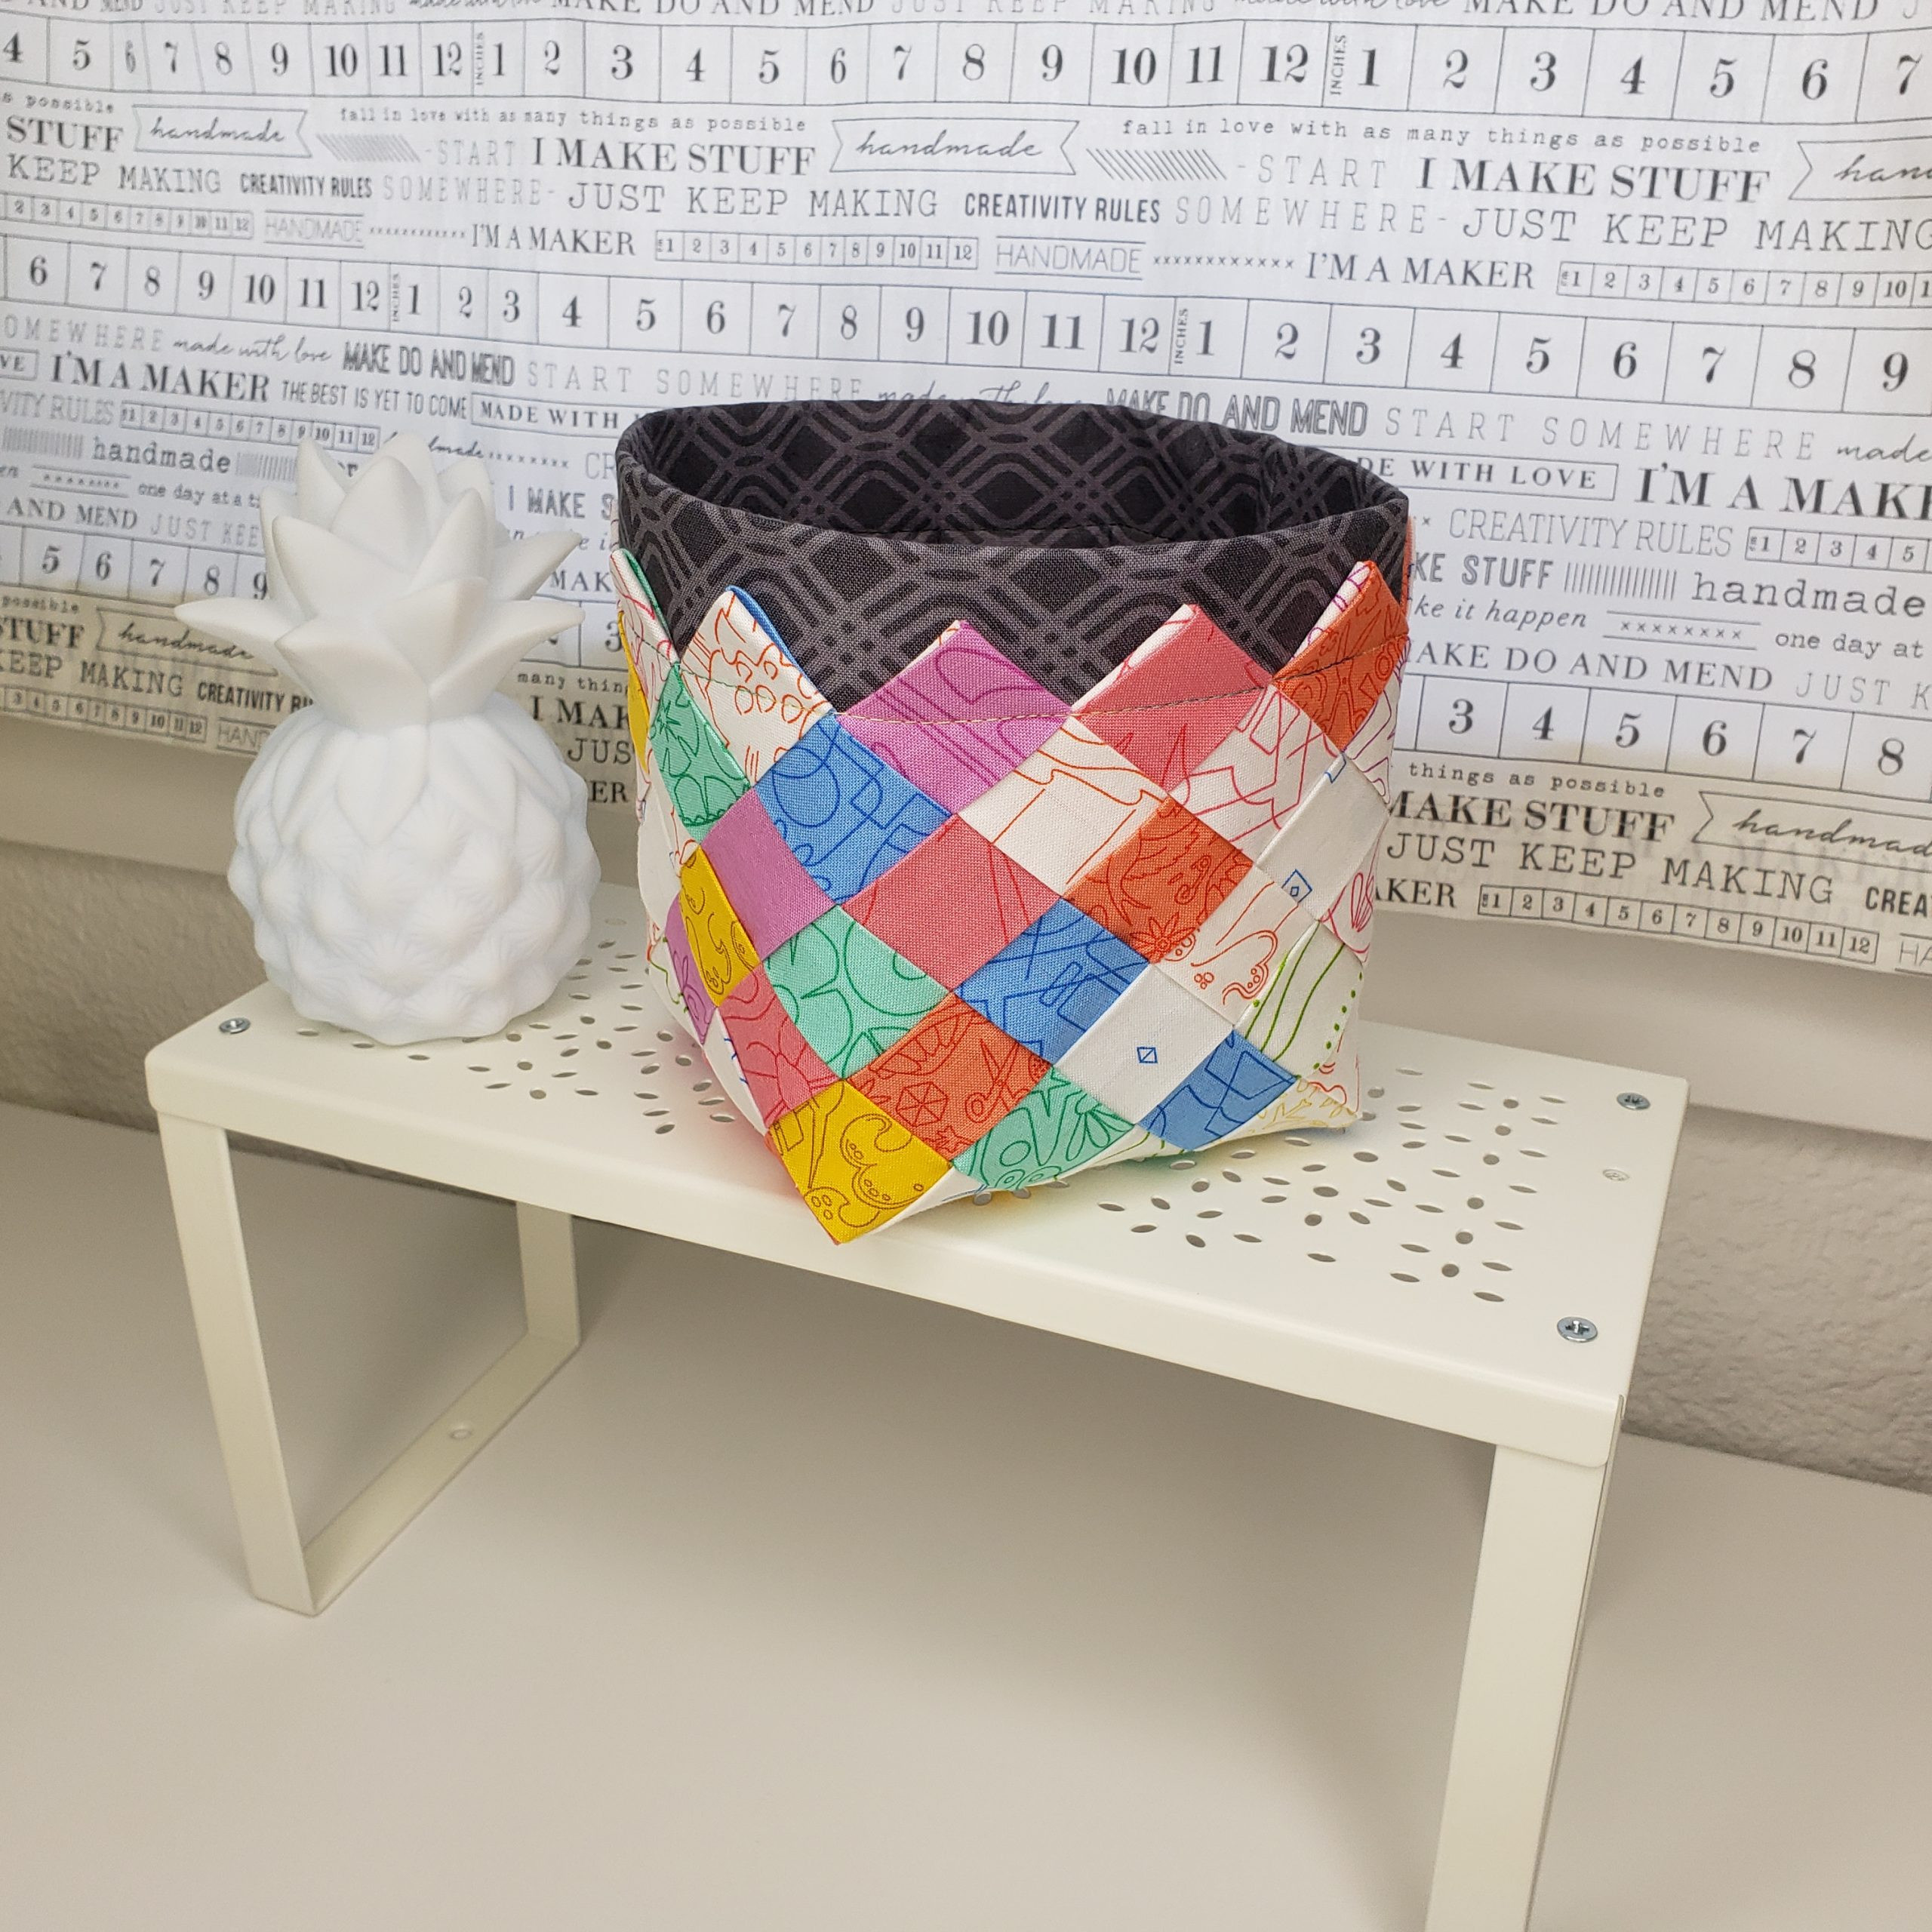
 Over 10 years ago I tried weaving fabric strips into a basket. I had no idea how to weave a basket, but I knew how to create fabric strips. My inspiration was a ceramic dish I purchased while we were living in Italy. I wanted to figure out a way to make a fabric version for use in my studio to store all those little things. I found a tutorial using old maps and was able to adapt it to the fabric strips.
Here is my adaptation of the woven basket.
I love making these little baskets and will be making more and experimenting with the size and lining for different purposes.
Strips of fabric are woven to create a versatile basket for holding all your "eggs". The basket can be upsized using larger strips of fabric and increasing the size of the lining.
What you will need:
- Materials
12 fabric strips cut 2 inches wide & 22 inches long
Fusible web for medium fabrics (e.g., Dritz 5/8 inch x 18 yard roll precut OR Pellon / HeatnBond 1 1/2 yards cut into 5/8 inch strips)
2 fabric lining pieces cut 9 1/2 x 9 3/4 inch
2 fusible interfacing pieces cut 9 1/2 x 8 3/4 inch (Pellon Decor Bond 809)
- Tools
Pressing Iron and thick pressing mat
Parchment paper or Pressing Sheet
25 mm bias tape maker
straight pins
craft clips
craft tweezers
Instructions
- Press strips using bias tape maker. Try to minimize the gap at center by meeting the raw edges without overlapping them.

- Cut fusible web to length of strips. Insert into folds of each strip. Remove paper backing if necessary. Press into place using parchment or pressing sheet to prevent fusible from getting on iron or pressing surface.

- Arrange strips 6 vertical and 6 horizontal wrong side up.

- Weave over / under (see Notes) Minimize the gap so edges of strips are touching and woven tightly but laying flat. Pin in place.

- Place a small square of fusible between the intersecting strips on the outside edge of the weave. Press in place making sure the strips are fused at the intersections.
Continue placing small squares of fusible between the intersecting strips in an X pattern throughout the weave. Press in place making sure the strips are fused at the intersections.
You can place smalls squares of fusible between the remaining intersections if desired. Press in place to make sure all strips are fused at the intersections.
Remove pins and turn the piece over, right side up.
- Start weaving to create the basket corners.
Find the center of each side and weave strips in a continuing over / under pattern and clip in place.
- Continue weaving up the sides from the created corners to the desired height.
At the top, fold the strip over to the inside and weave under the next strip on inside of basket. Secure with craft clip.
Adjust any loose strips and refold the top securing with a craft clip.
Make the lining....
Press fusible interfacing to wrong side of both fabric lining panels aligning the interfacing to one end of the fabric lining.
- With right sides together, stitch fabric lining panels together, stitch sides and bottom, leaving one short edge unstitched.

- Mark a 2 1/4 inch corner from raw edge of stitched corners.

- Cut on marked line through both layers. Press seams open.


- Align seam centers of cutout right sides together, matching raw edges of cutout. Clip in place

- Stitch 1/4 inch seam along cut edge from fold to fold with seams aligned at center.

- Fold over top, wrong sides together, at edge of interfacing. Press.

- Fold over folded edge to 1 1/4 inch -1 1/2 inch. Make sure the folded edge comes down enough to be below the top of the woven basket edges. Press.

- Set the lining into the woven basket. Set corners into corners of basket and even out top edge so it is even around the basket.

- Pin in place. Stitch through all layers to secure lining to basket.

How-to video
Notes
- The video shows how to weave the basket in a time compressed tutorial.


