
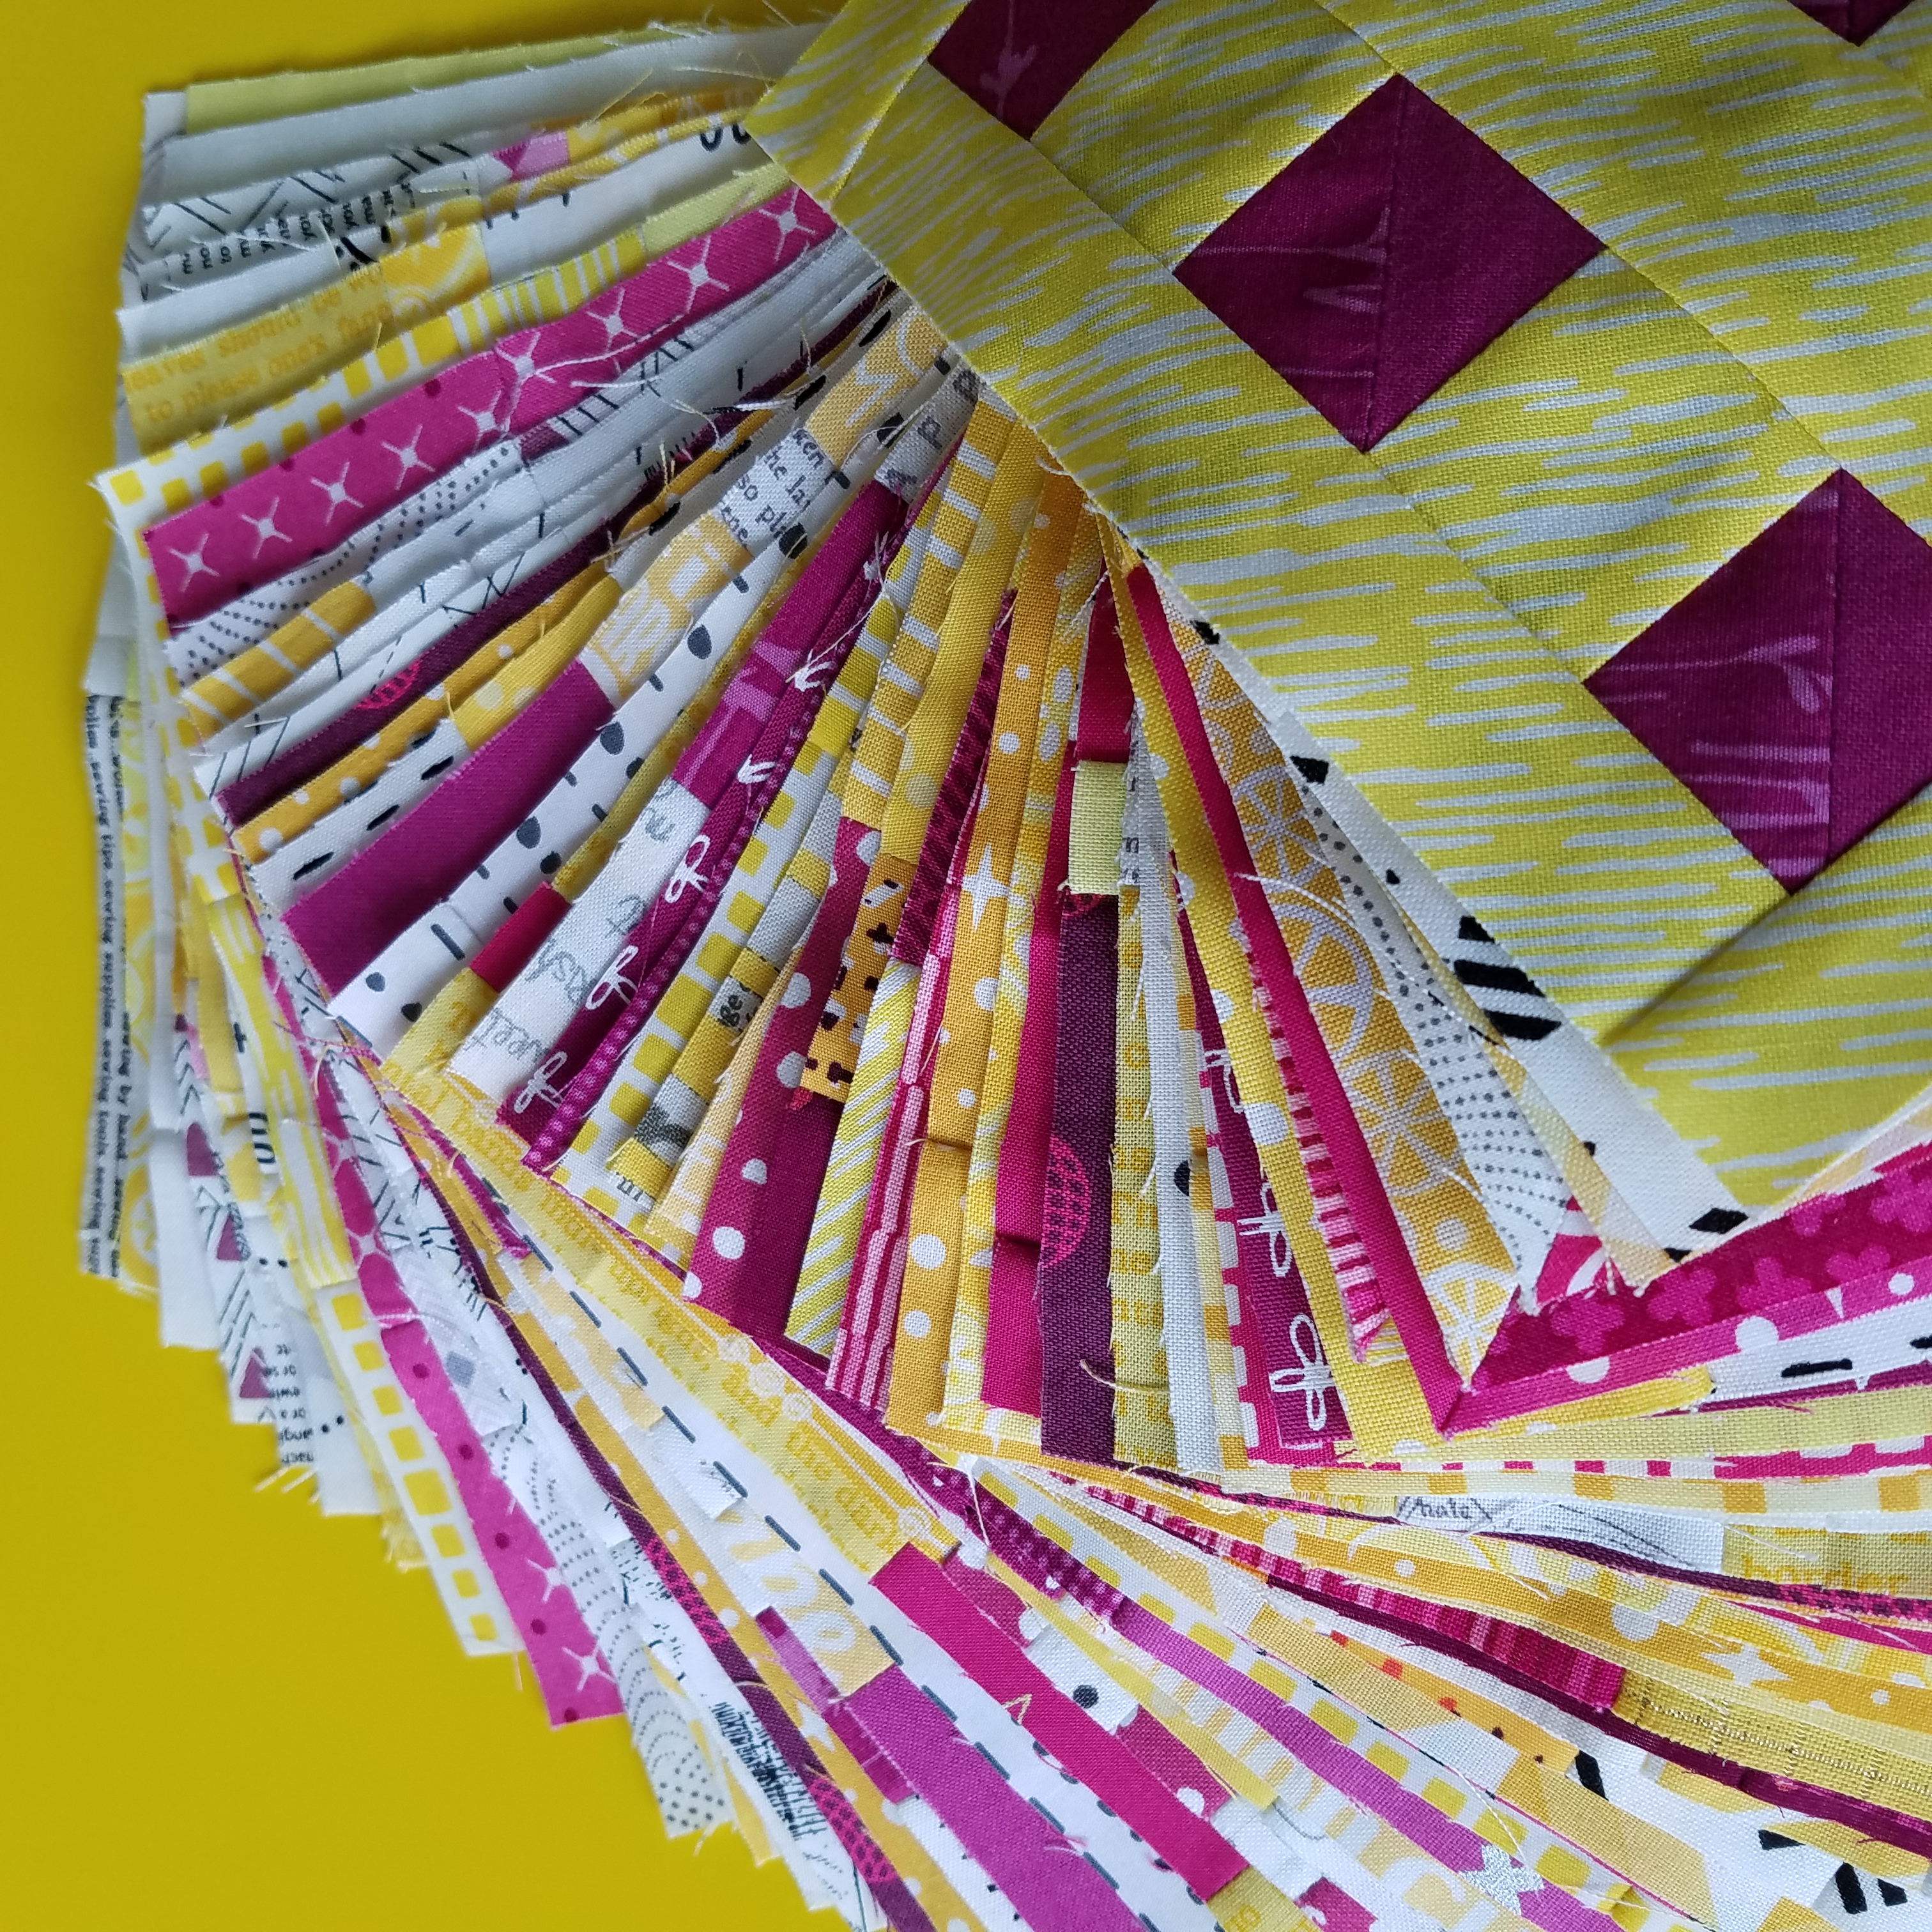
An improv Foundation Paper Pieced (FPP) binding for a spark to frame your quilt. Use the angled scrap pieces from your quilt to make a unique binding!
This technique uses adding machine paper and scraps to make a binding for your quilt. Use your own scraps or create pieces for use in this technique.
Materials
-Scrap fabric in varying lengths at least 3 ½ inches wide (triangles & wedges & diamonds are great)
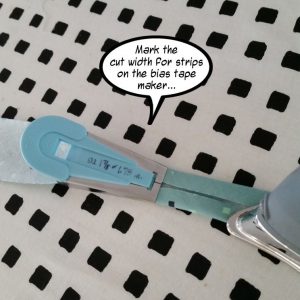
-Calculator/Adding machine paper roll at 2 ¼ inch wide
-Water soluble glue stick


Do the math to determine the amount of binding you will need. (example is a 57 x 72 inch quilt)
25 inches of length is added for all the seams to join the strips together and enough for overlap to join ends after sewing to quilt edge.
Quilt Width x 2 + Quilt Length x 2 + 25 = _________
(57 x 2) + (72 x 2) + 25 =
114 + 144 + 25 = 283
283 divided by 48 = 5.9 >> round up to 6 << number of 48-inch lengths needed
Cut the paper roll into the number of 48-inch lengths needed for your quilt. Do the math to determine the number of paper strips you will need.
More is always better. Binding for other projects is always good to have on hand and this binding will be sew useful!!
Step One

Start here
Starting at one end of the first paper strip, place the first scrap, right side up, over the paper so it overlaps at least a half inch on top and bottom. Use the glue stick to stabilize the fabric to the paper. Align a second scrap RST with the raw edge of the first scrap making sure the overlap on top and bottom is at least ½ inch.
Pin in place.
Step Two

Stitch
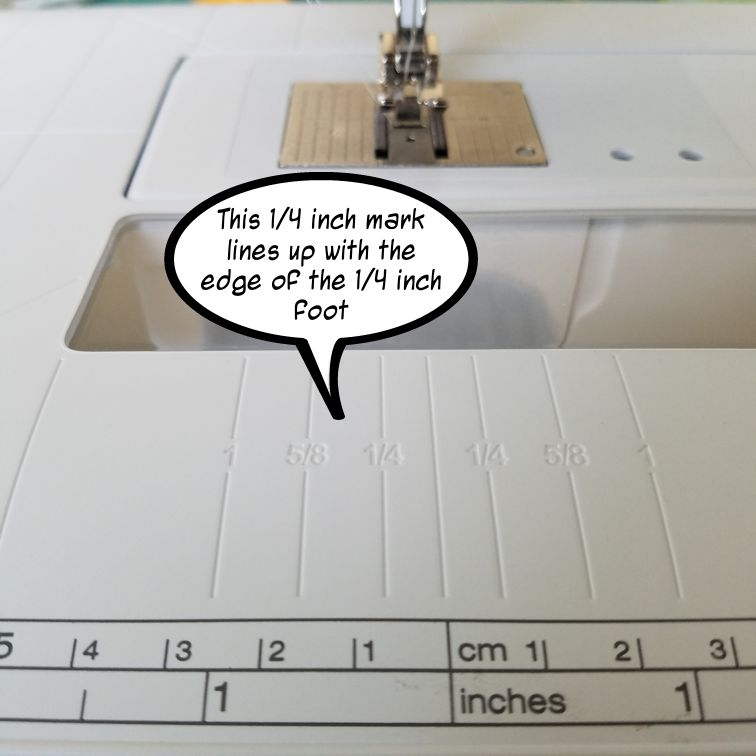
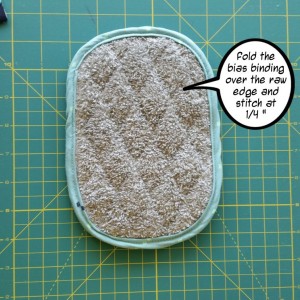
Stitch a straight line along raw edge using a ¼ inch seam through all layers.
Step Three

Flip & Press
Flip fabric so wrong side is to the paper. Press seam. All seams will be pressed to one side. This is why angled scrap pieces work so well for this project. Seams will not get bulky as the angled seams won’t line up.
Use the glue stick to stabilize this fabric to the paper.
Step Four

Repeat
Repeat adding scraps to the paper until you have filled the 48-inch paper strip.
Step Five

Make more
Repeat adding scraps to your strips until you have the number of strips you need. [And maybe more for extra projects]
Step Six

Trim strips
Place the strip with the paper side up on your cutting mat. Trim the edge to ½ inch from the paper edge for a 3 ¼ inch binding strip.
I like a wide binding to show off this scrappy color spark!
Trim closer for a smaller binding strip.
Repeat for remaining 48-inch strips.
Step Seven

Join strips
Overlap the left end of one 48-inch strip, right side up, with the right end of one 48-inch strip. Align the edges so the strip is continuous but overlapping. Trim at a 45-degree angle at the overlapped area through all layers.
Step Eight

Stitch
Align ends of strips RST at a right angle, offset ¼ inch for seam allowance. Stitch seam at ¼ inch. Press seam open.
Step Nine

Flip and Press
Repeat adding 48-inch strips to the right end of the strips until you have the length needed for binding your quilt.
Step Ten

Press
Press in half Wrong Sides Together (WST) lengthwise.
This is the most fun I have ever had making binding!
I hope you find inspiration in making this scrappy spark binding!
TIP:
Use your favorite charm pack to create a unique binding. Cut the 5 inch square in half on the diagonal and use the triangles to make this scrappy spark binding.


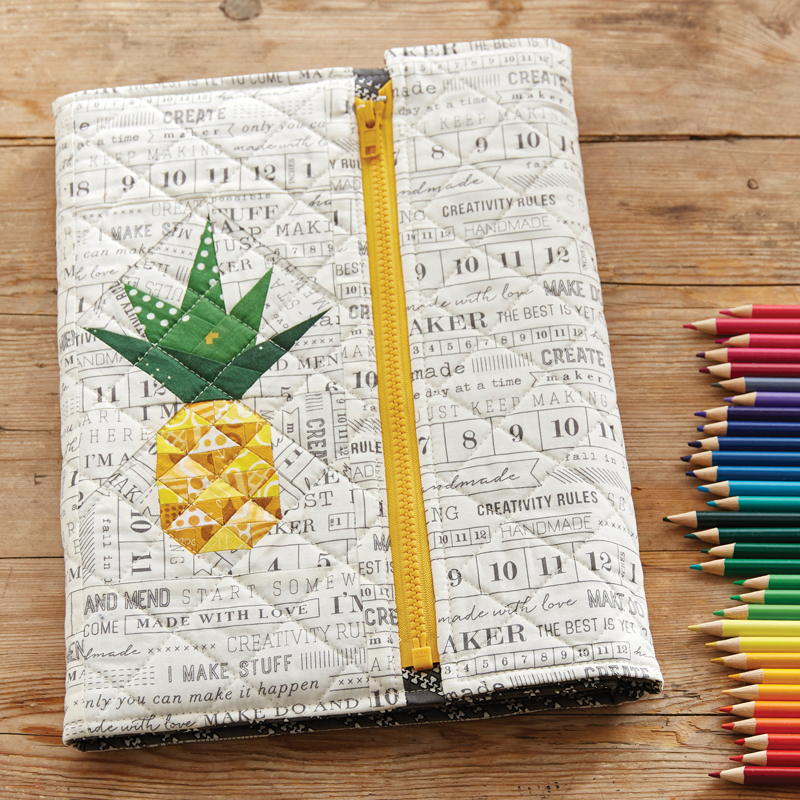
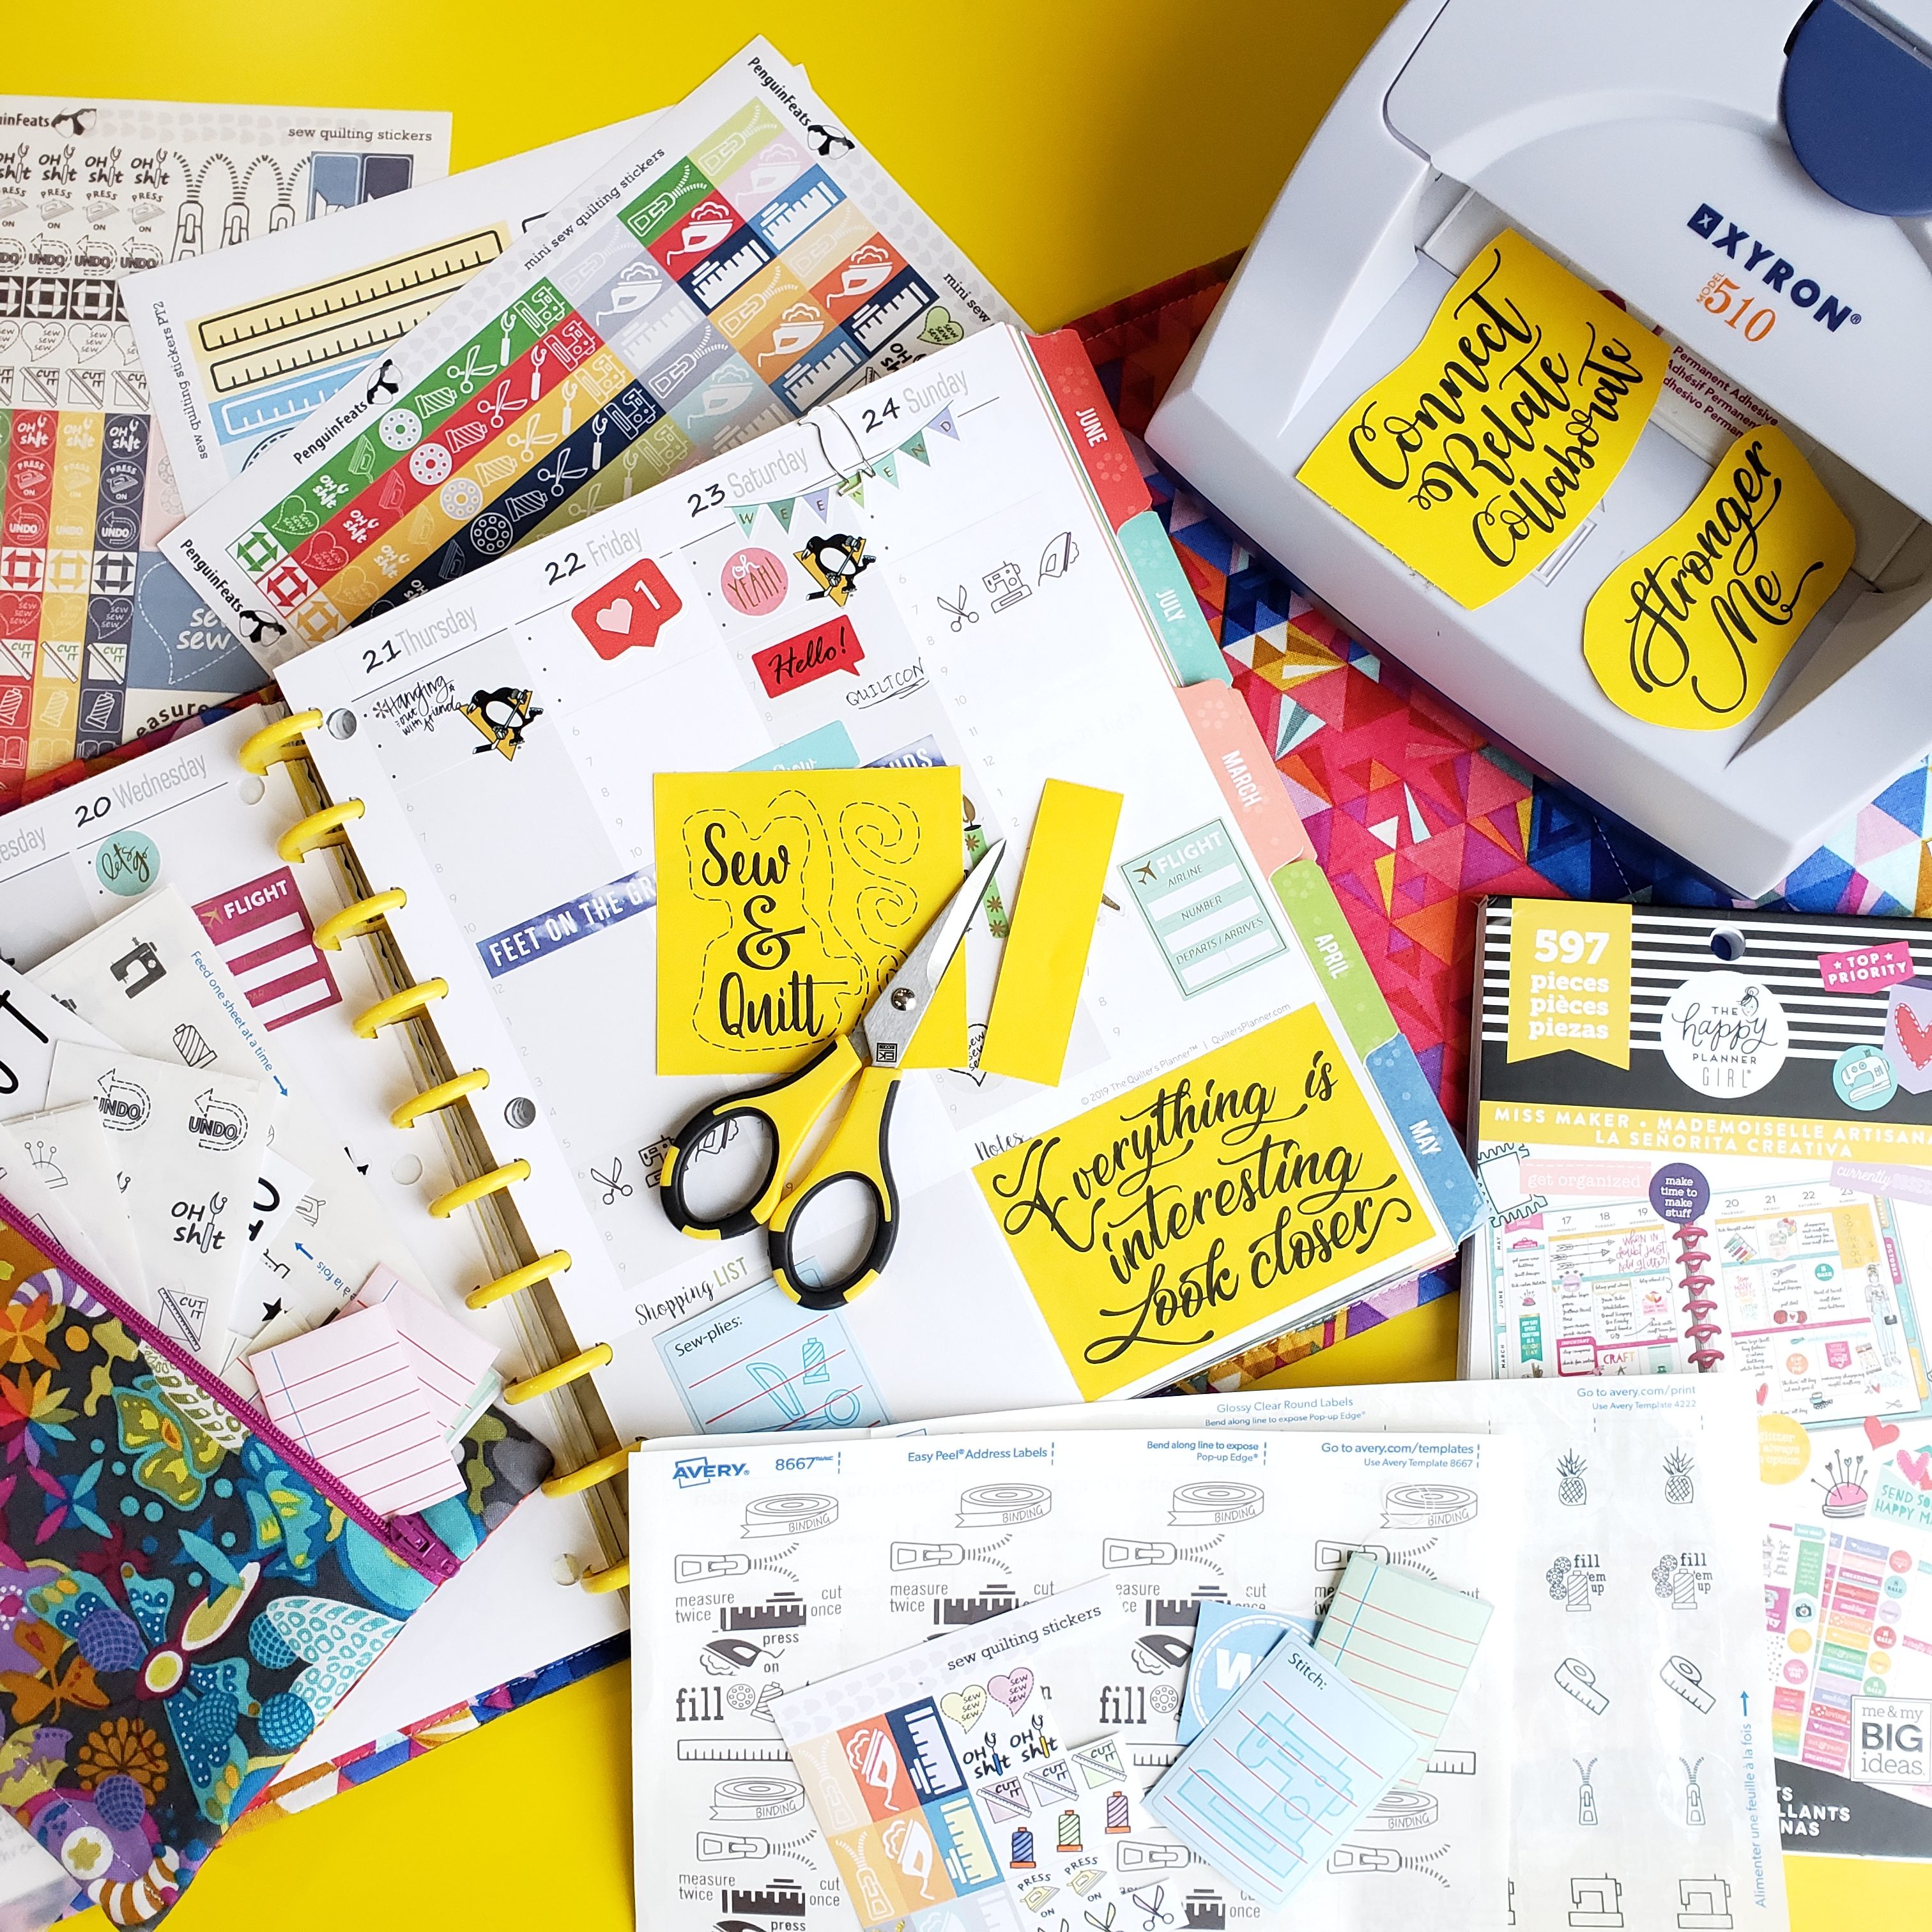
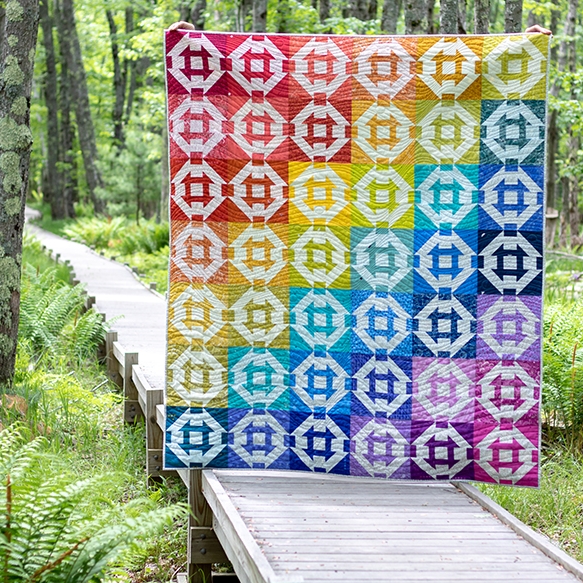
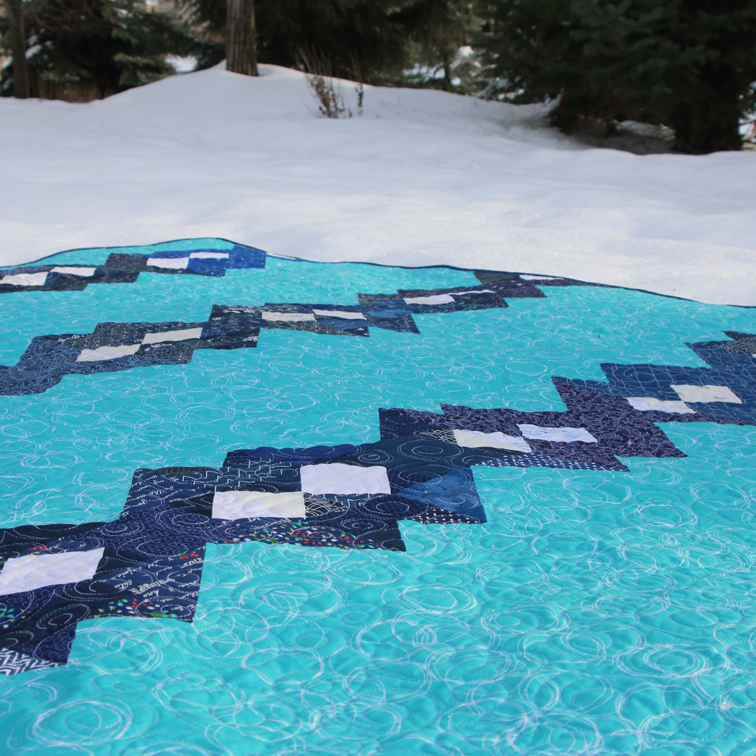
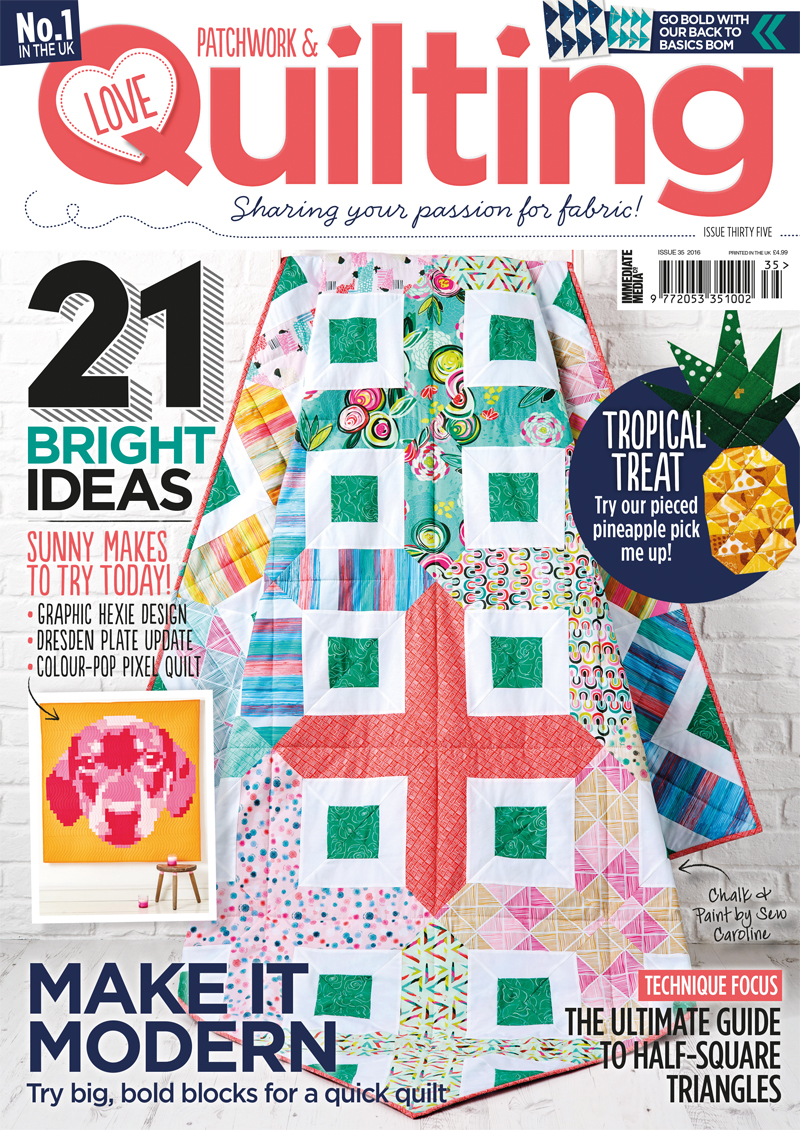
This binding appears on the Striking Sparks quilt. Striking Sparks is featured in issue 59 of Make Modern Magazine.


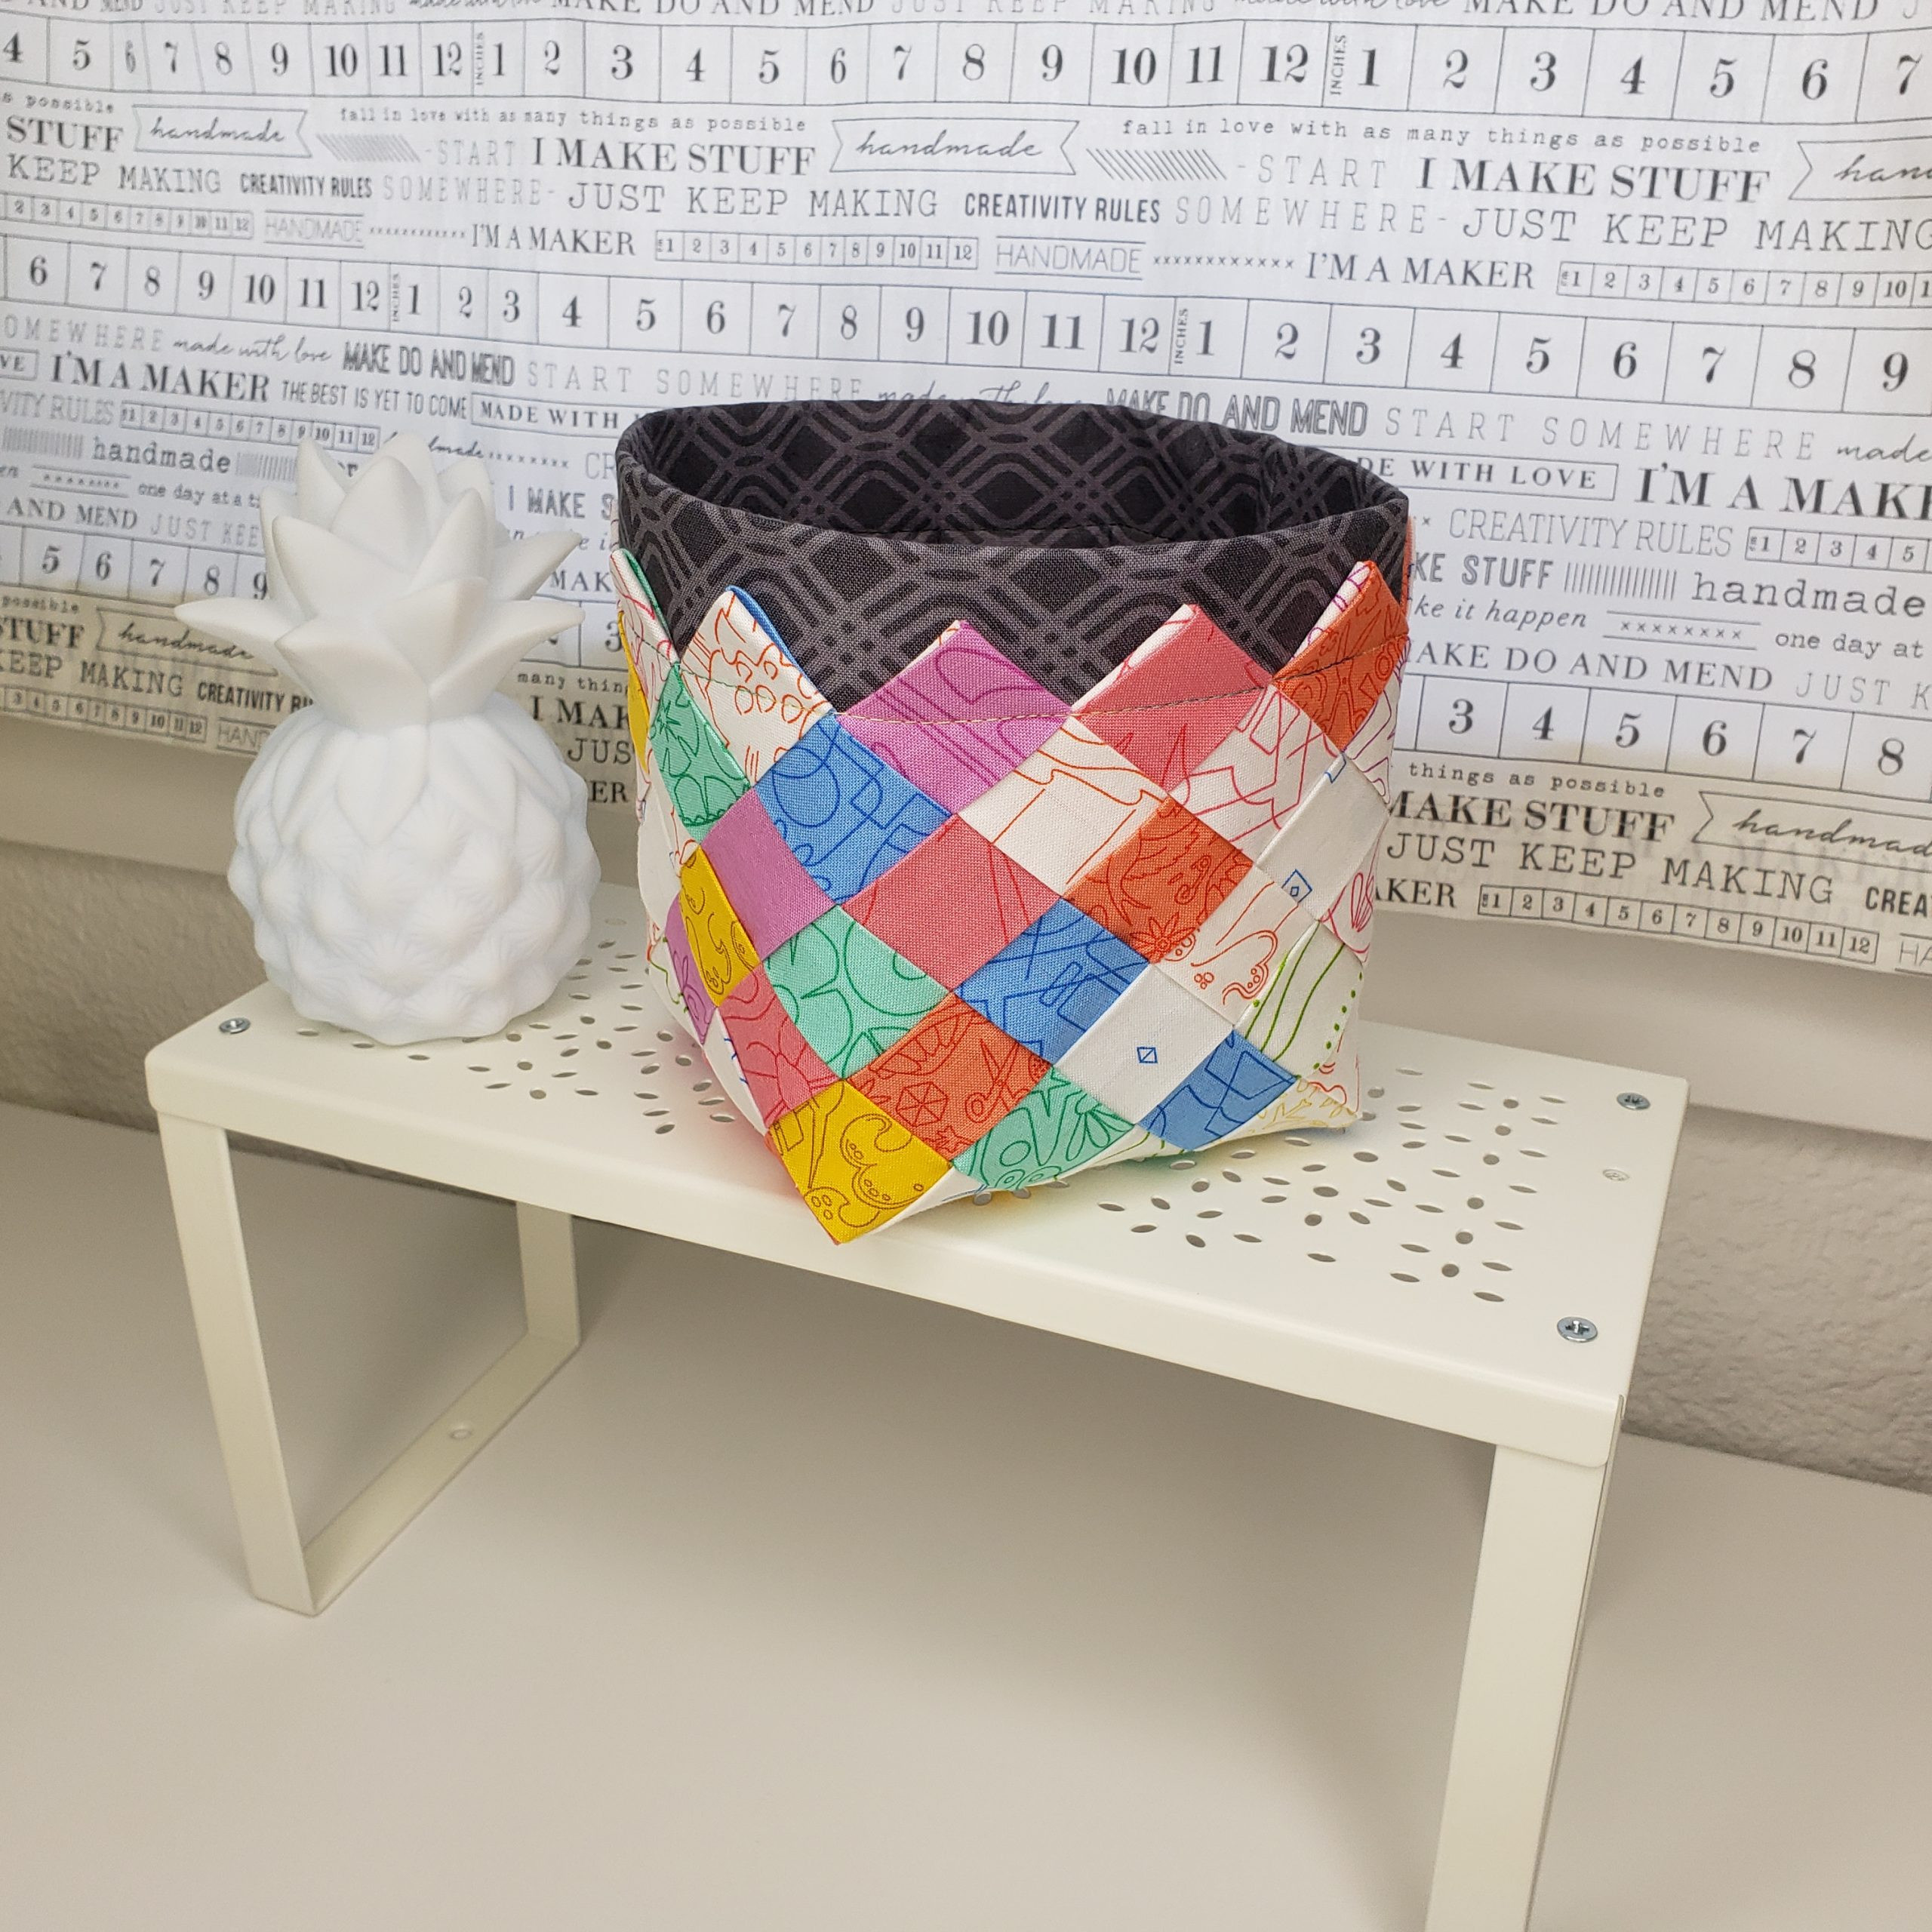
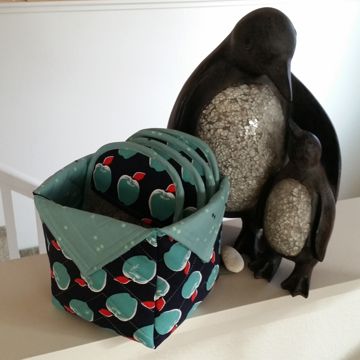
 Over 10 years ago I tried weaving fabric strips into a basket. I had no idea how to weave a basket, but I knew how to create fabric strips. My inspiration was a ceramic dish I purchased while we were living in Italy. I wanted to figure out a way to make a fabric version for use in my studio to store all those little things. I found a tutorial using old maps and was able to adapt it to the fabric strips.


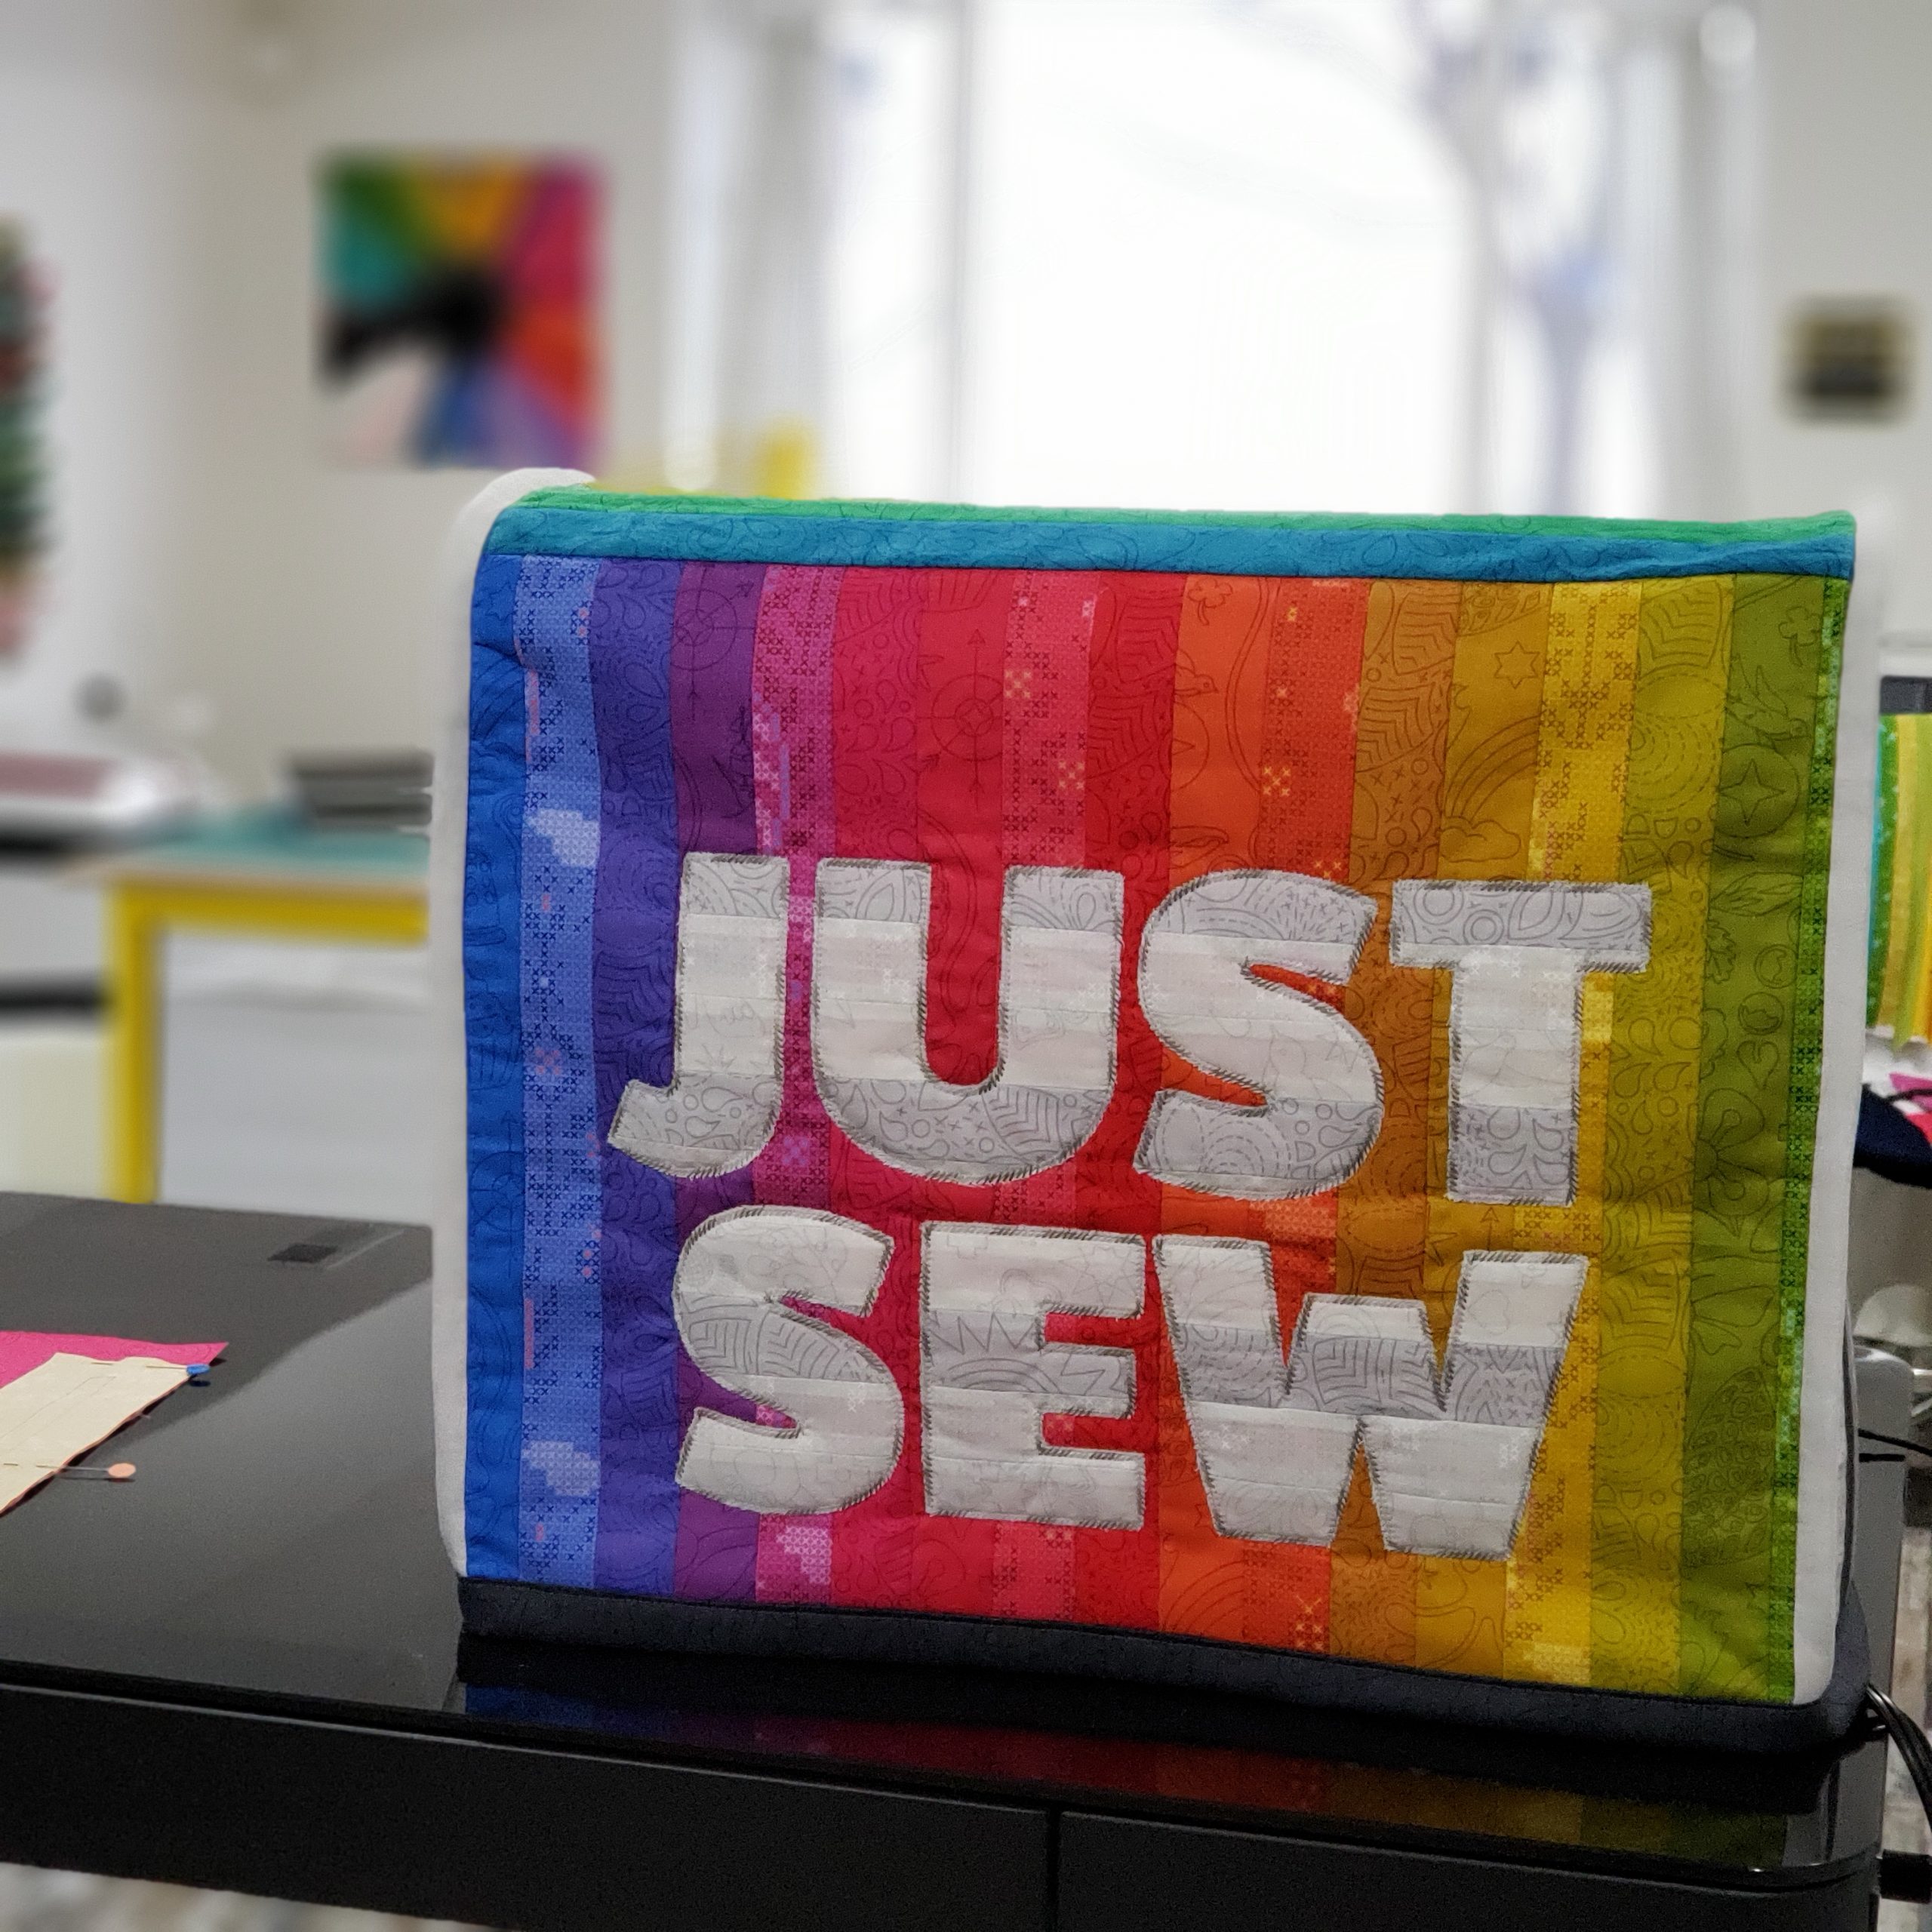


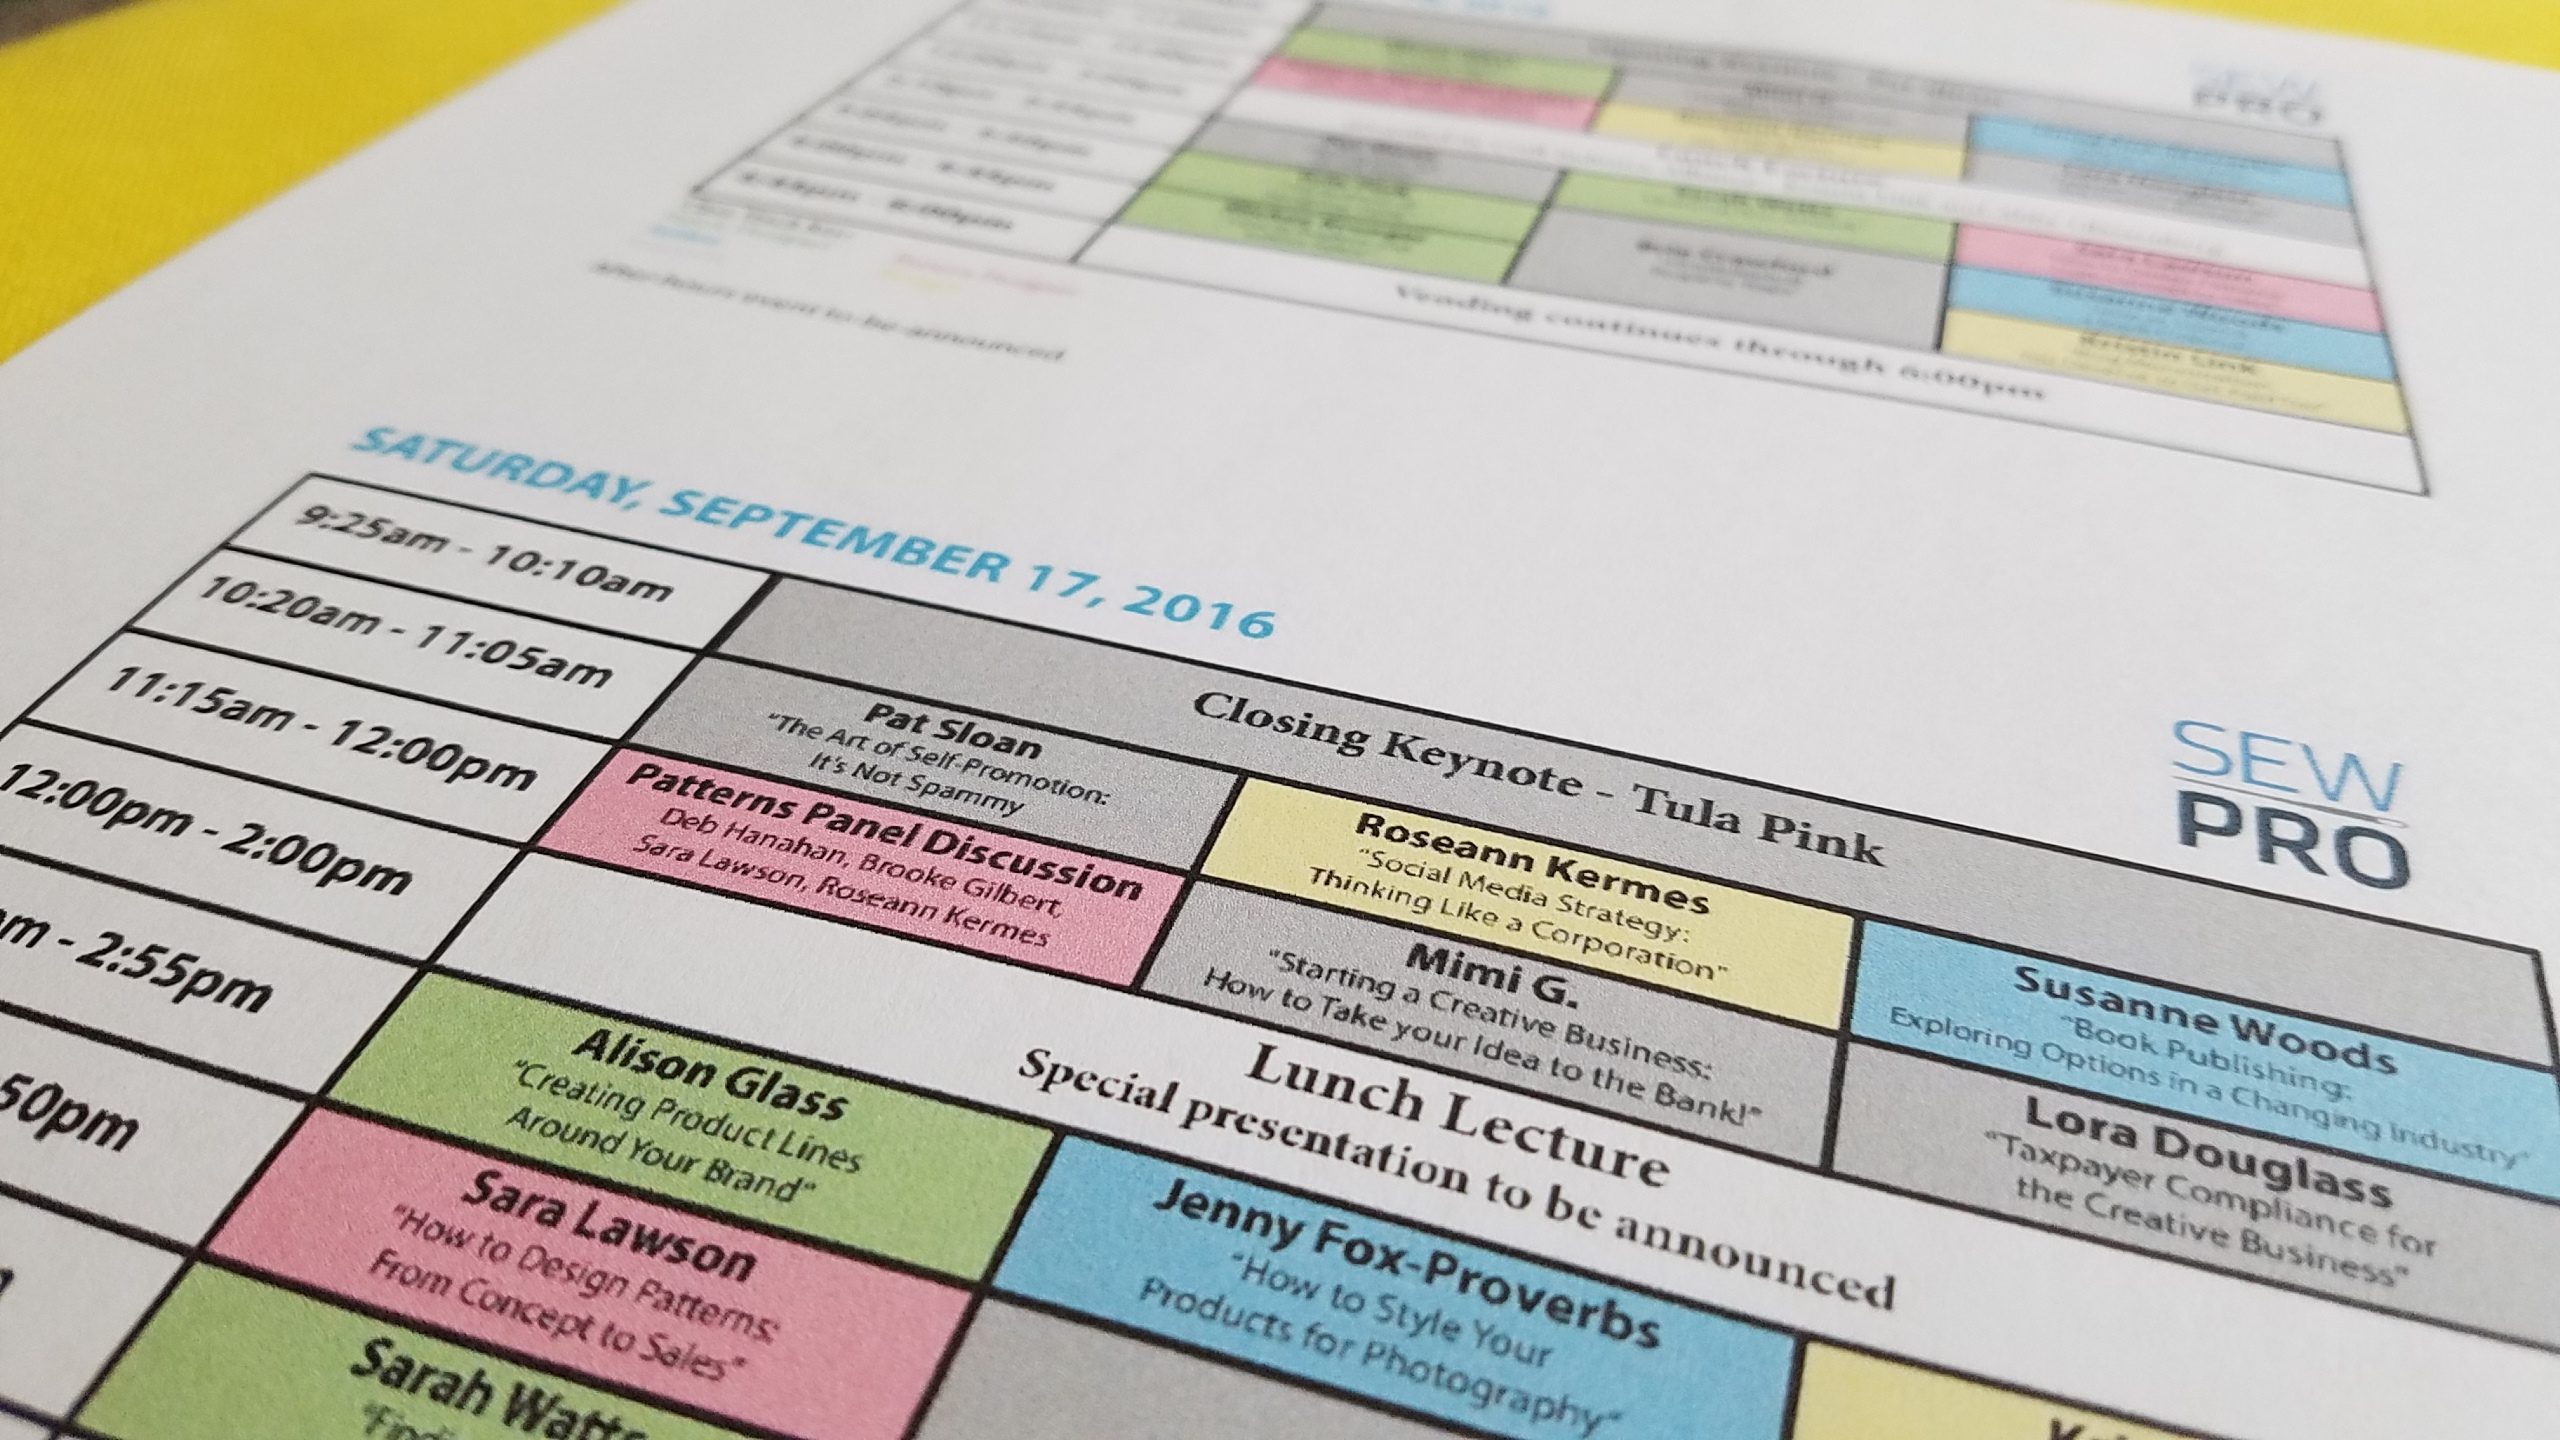


 Halfway there…and this challenge has been more than I imagined!
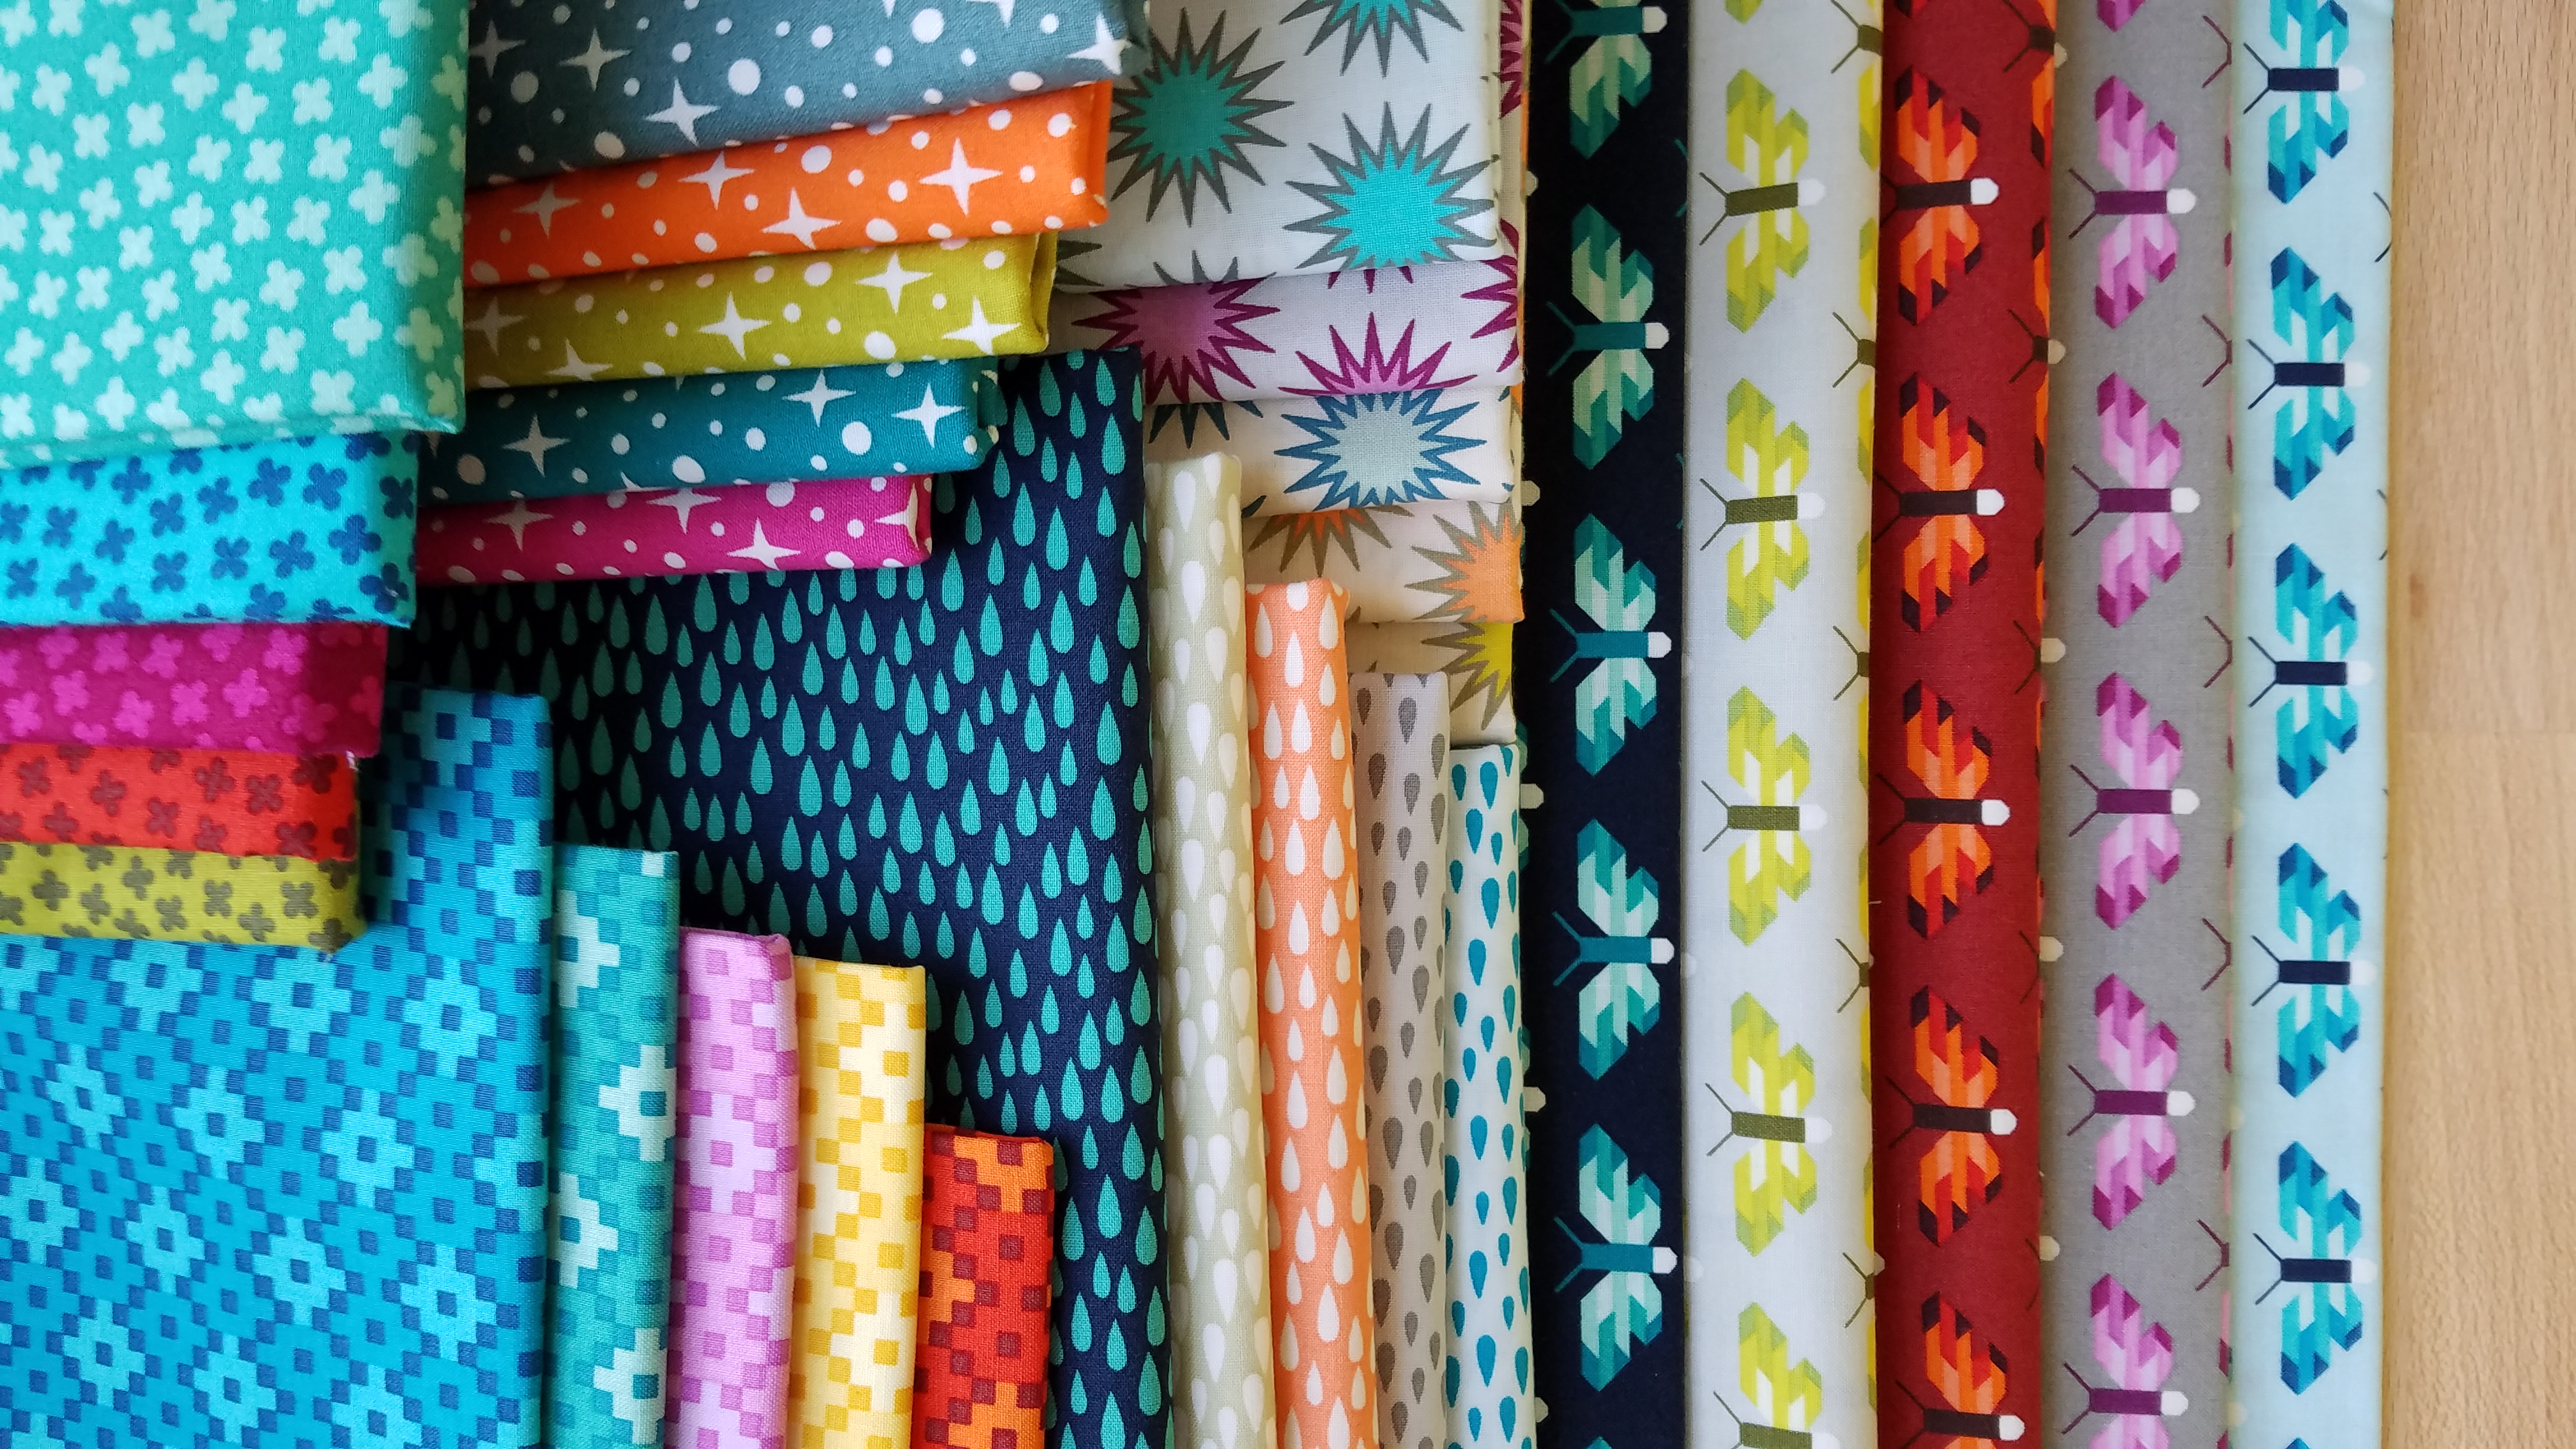
 One of my absolute favorite fabric collections is Sun Print by Alison Glass. I kept some of it with me for my in between time. And that is where I found my inspiration for #100days100blocks >> Sphere in Raspberry
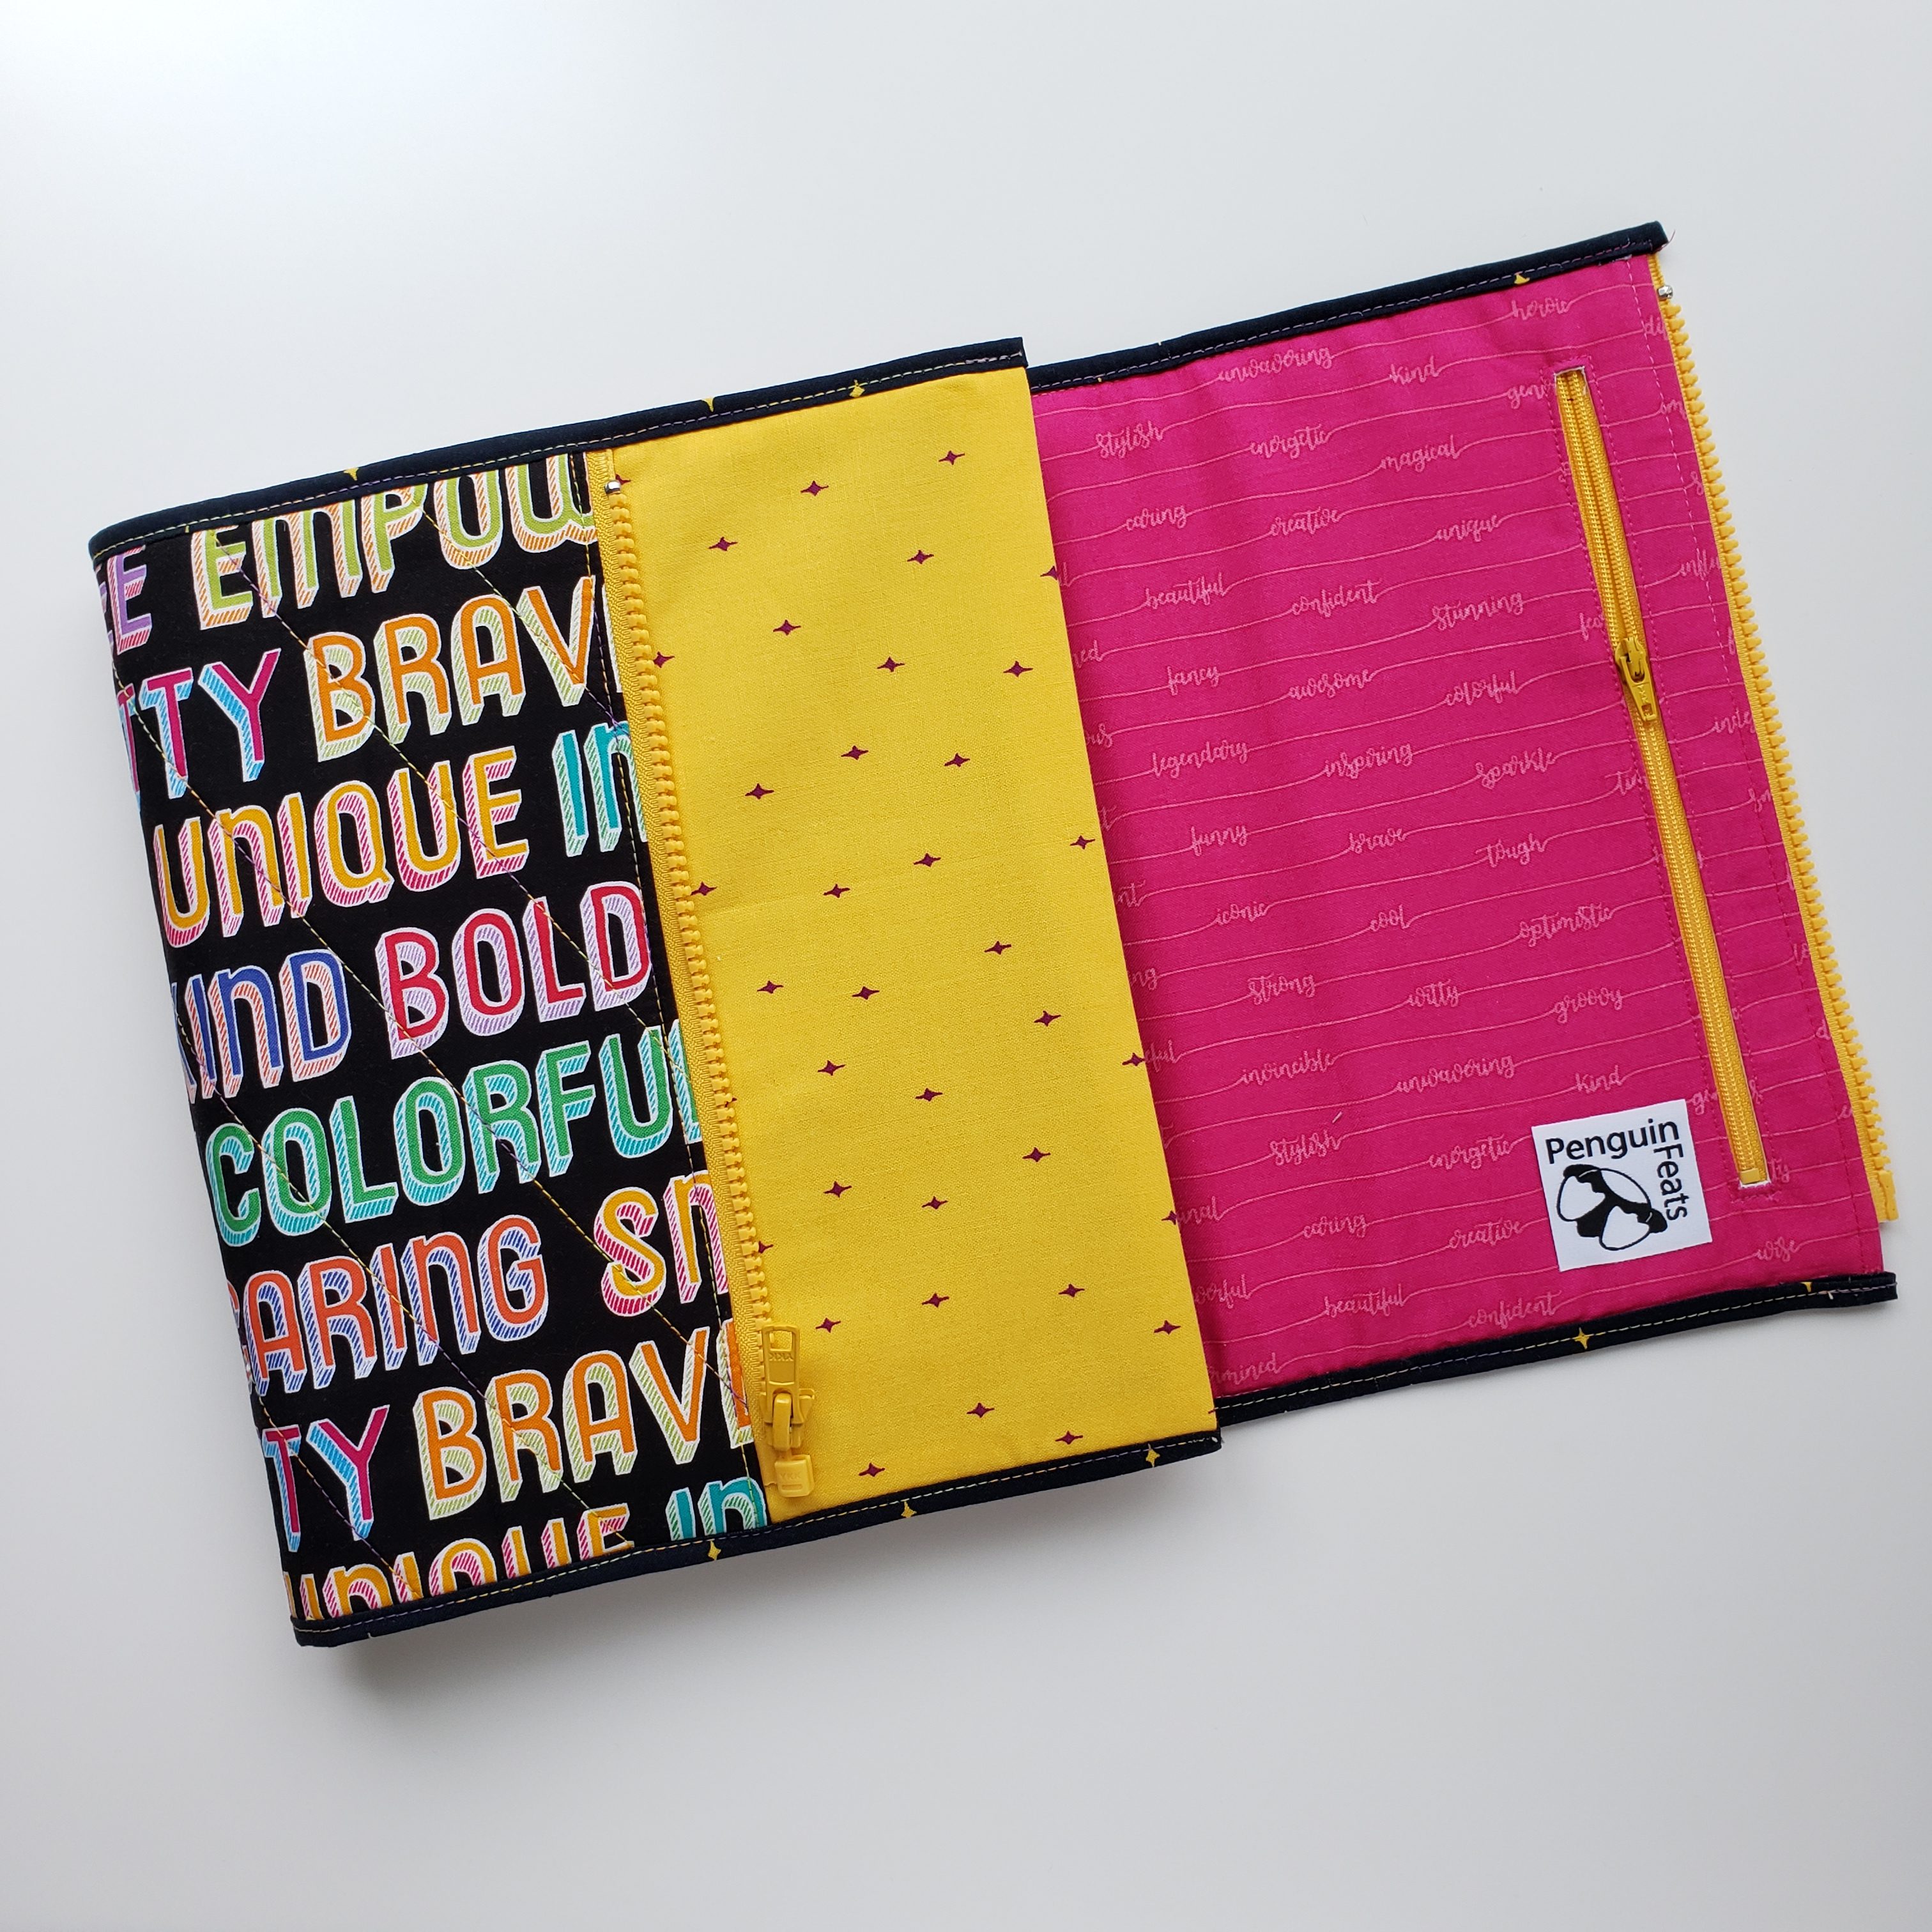
 I struck raspberry gold at Fabric Depot. At the end of my shopping trip I walked out with 12 different fabrics to go with Sphere in Raspberry. And I also found some new lemonade yellows too.


