Posted on Leave a comment

Sparks Binding

An improv Foundation Paper Pieced (FPP) binding for a spark to frame your quilt.  Use the angled scrap pieces from your quilt to make a unique binding!

This technique uses adding machine paper and scraps to make a binding for your quilt. Use your own scraps or create pieces for use in this technique.

Materials

-Scrap fabric in varying lengths at least 3 ½ inches wide (triangles & wedges & diamonds are great)

-Calculator/Adding machine paper roll at 2 ¼ inch wide

-Water soluble glue stick

Do the math to determine the amount of binding you will need.  (example is a 57 x 72 inch quilt)

25 inches of length is added for all the seams to join the strips together and enough for overlap to join ends after sewing to quilt edge.

Quilt Width x 2 + Quilt Length x 2 + 25 = _________

(57 x 2) + (72 x 2) + 25 =

114 + 144 + 25 = 283

283 divided by 48 = 5.9   >>   round up to 6   <<  number of 48-inch lengths needed

Cut the paper roll into the number of 48-inch lengths needed for your quilt. Do the math to determine the number of paper strips you will need. 

More is always better.  Binding for other projects is always good to have on hand and this binding will be sew useful!!

Step One

Start here

Starting at one end of the first paper strip, place the first scrap, right side up, over the paper so it overlaps at least a half inch on top and bottom.  Use the glue stick to stabilize the fabric to the paper.  Align a second scrap RST with the raw edge of the first scrap making sure the overlap on top and bottom is at least ½ inch. 

Pin in place.

Step Two

Stitch

Stitch a straight line along raw edge using a ¼ inch seam through all layers.

Step Three

Flip & Press

Flip fabric so wrong side is to the paper. Press seam.  All seams will be pressed to one side.  This is why angled scrap pieces work so well for this project.   Seams will not get bulky as the angled seams won’t line up.
Use the glue stick to stabilize this fabric to the paper. 

Step Four

Repeat

Repeat adding scraps to the paper until you have filled the 48-inch paper strip. 

Step Five

Make more

Repeat adding scraps to your strips until you have the number of strips you need. [And maybe more for extra projects]

Step Six

Trim strips

Place the strip with the paper side up on your cutting mat.  Trim the edge to ½ inch from the paper edge for a 3 ¼ inch binding strip.

I like a wide binding to show off this scrappy color spark!

Trim closer for a smaller binding strip.

Repeat for remaining 48-inch strips.

Step Seven

Join strips

Overlap the left end of one 48-inch strip, right side up, with the right end of one 48-inch strip.  Align the edges so the strip is continuous but overlapping.  Trim at a 45-degree angle at the overlapped area through all layers. 

Step Eight

Stitch

Align ends of strips RST at a right angle, offset ¼ inch for seam allowance.  Stitch seam at ¼ inch.  Press seam open. 

Step Nine

Flip and Press

Repeat adding 48-inch strips to the right end of the strips until you have the length needed for binding your quilt.

Step Ten

Press

Press in half Wrong Sides Together (WST) lengthwise.

This is the most fun I have ever had making binding!

I hope you find inspiration in making this scrappy spark binding!

TIP:

Use your favorite charm pack to create a unique binding. Cut the 5 inch square in half on the diagonal and use the triangles to make this scrappy spark binding.

This binding appears on the Striking Sparks quilt. Striking Sparks is featured in issue 59 of Make Modern Magazine.

Posted on 138 Comments

Baby it’s cold outside…

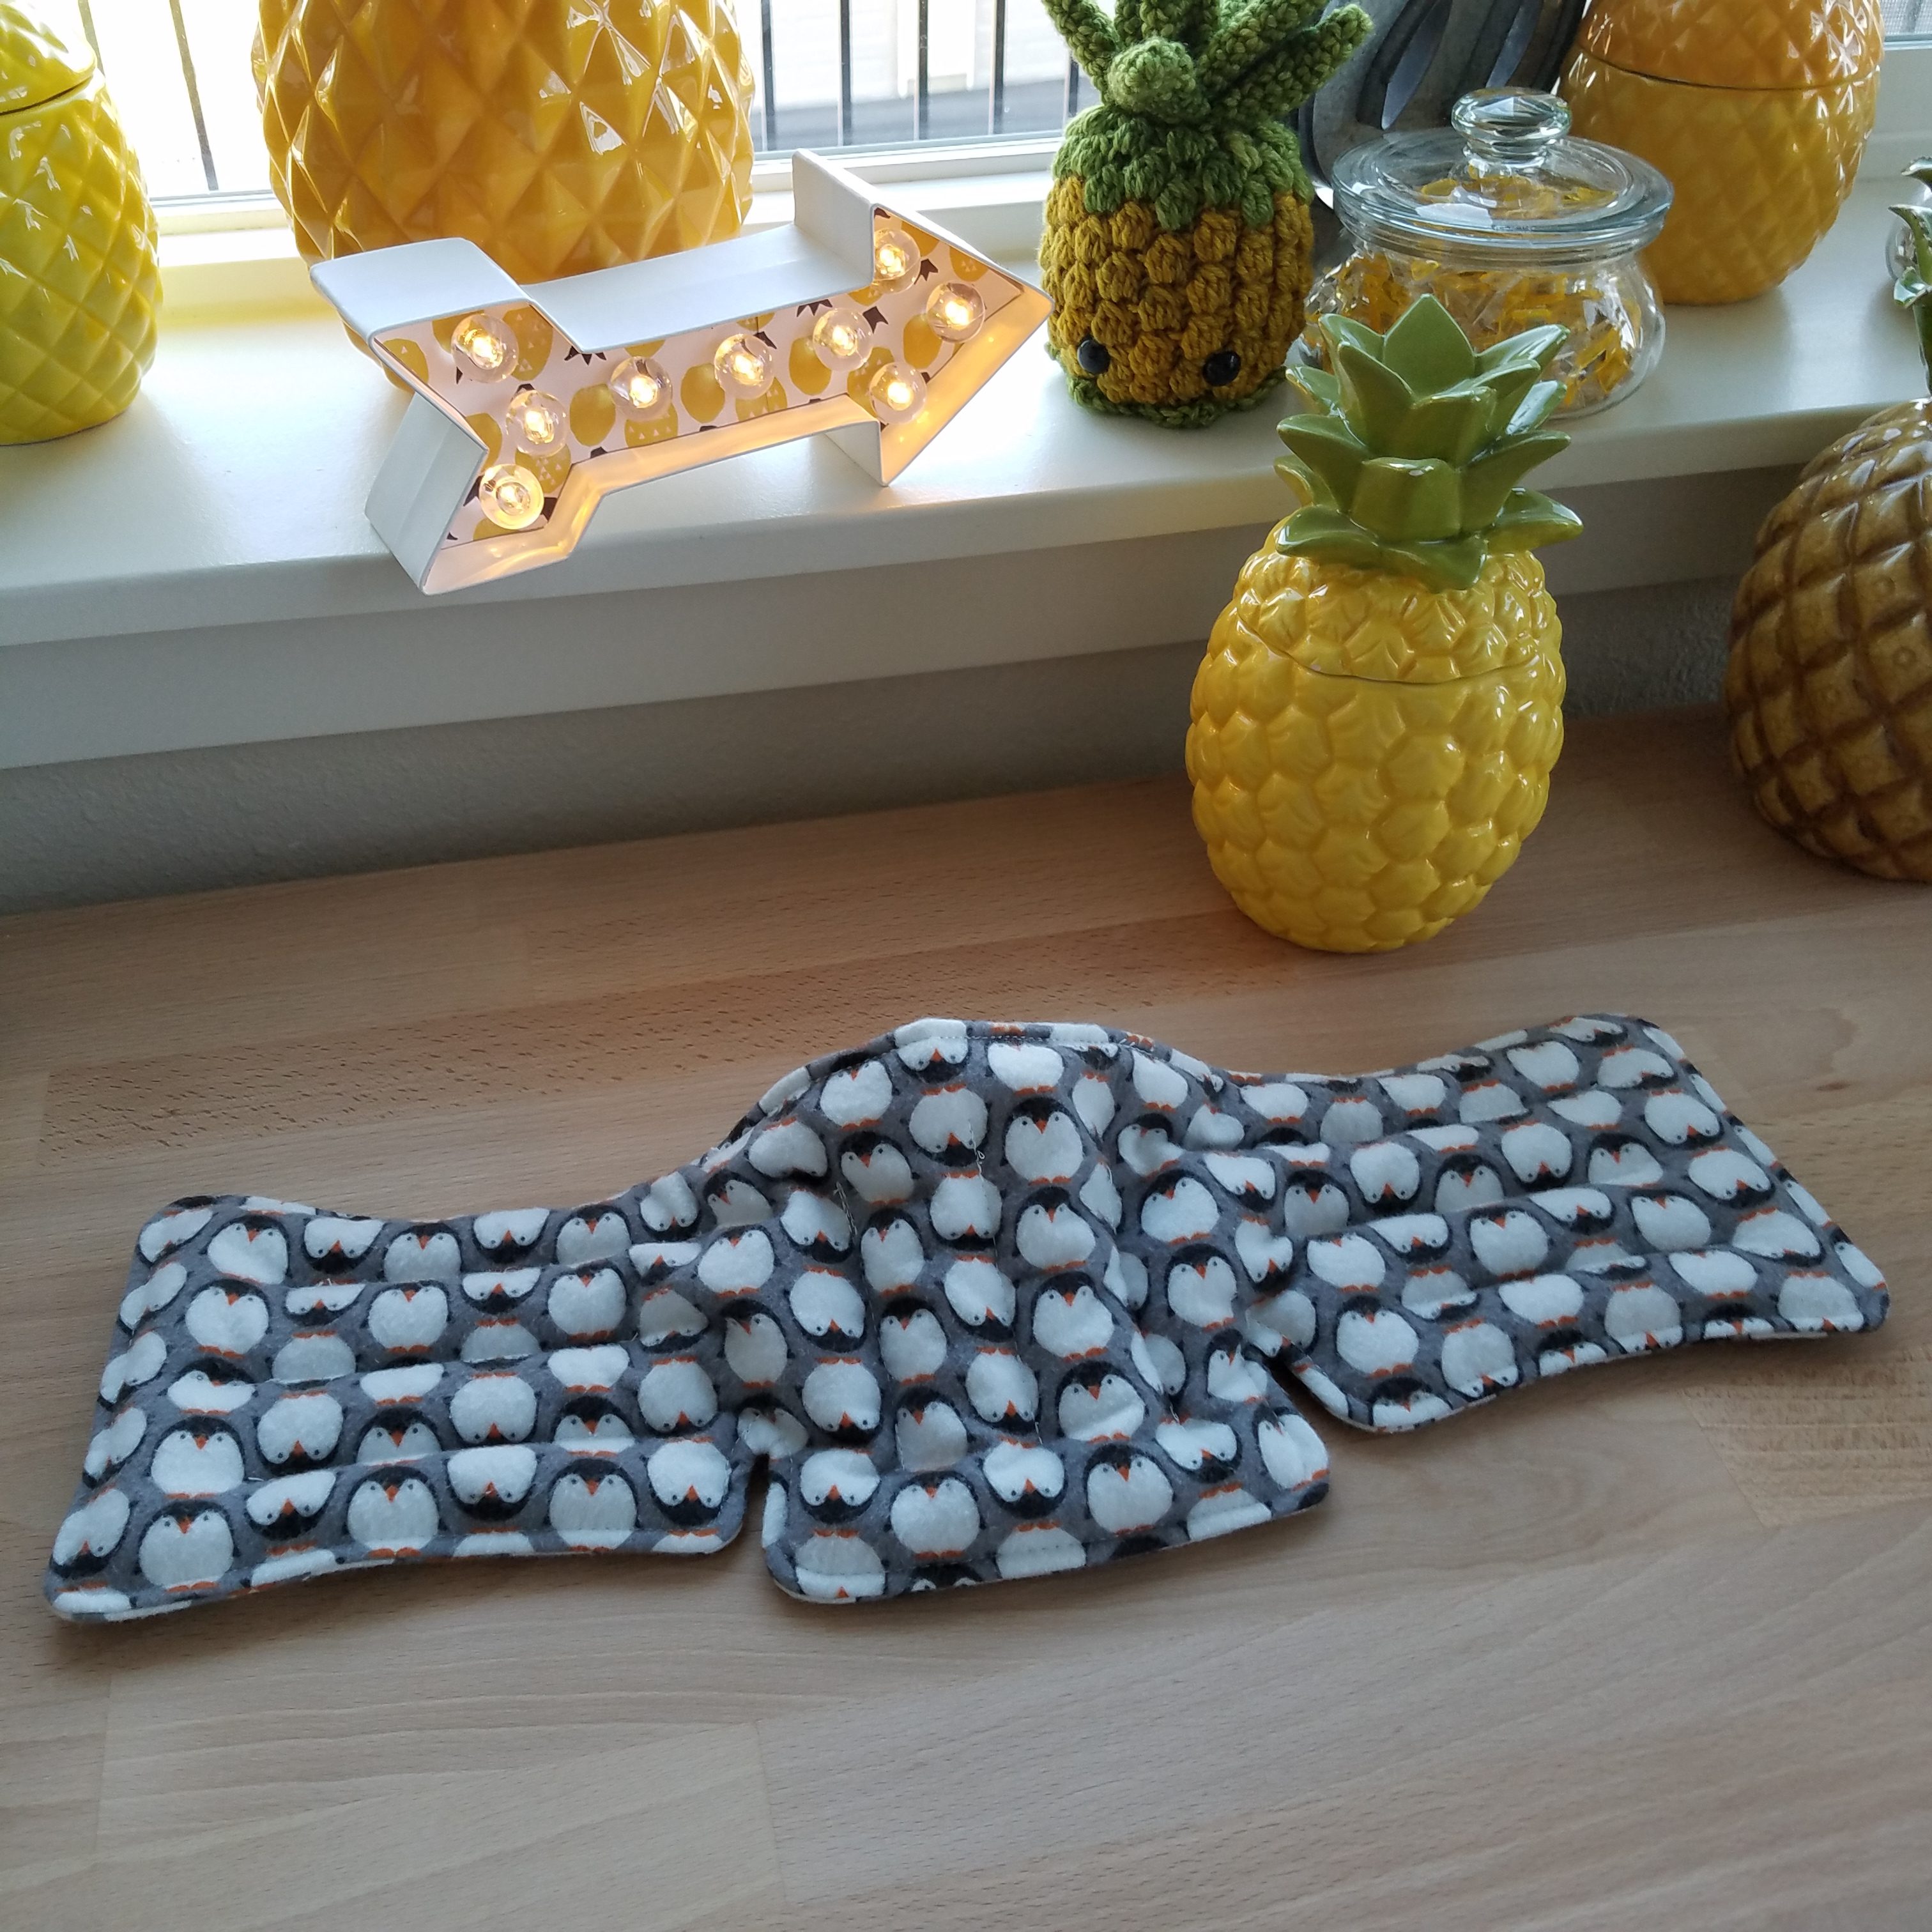
Hot N Cold Pack

A new pattern and a giveaway…all wrapped in one for the season.

It’s getting cold outside and what would be better to make than something to keep you warm, relax your tired muscles, and make you feel cozy?  A microwavable heat pack made with all natural flax seed and cotton fabrics.


At the end of this tutorial I will be giving away a kit so you can make your very own with the cute organic penguin flannel from Cloud 9 fabrics.

Download the free template here.


1 FQ  main fabric- 100% cotton flannel fabric

1 FQ  lining fabric- 100% cotton woven (muslin or kona)

approximately 12 ounces natural raw whole flax seeds

100% cotton thread (30 wt quilting thread)


Cut 2 main fabric & 2 lining fabric placing template on fold.


Place 1 lining on 1 main fabric piece.  Repeat for second piece.


Place layers with right sides of main fabric together lining up all corners and edges.


Stitch 1/4 inch seam, leaving a 4-5 inch opening at top center of heat pack.


Clip inner corners making sure not to clip threads.


Turn right side out.


Using a stitch length of 3 or 3.5, edge stitch around seam making sure to back stitch at start and end of opening at top.


Mark your top stitching to create the cells for the flax seed to move around.   Keep the stitching at least 1 inch away from the edges of the heat pack.


Stitch along your marked lines securing the stitches at the beginning and end of each line.


Fill the heat pack with flax seed.  I have found that a large smoothie straw helps get the flax seed in the hard to reach areas.  A funnel can be used.  I created a funnel using a paper plate and straw.

Try to fill the heat pack as full as possible moving it around a lot to help the seeds settle into all the corners.  Using pins or clips to hold the opening closed, fold over the raw edge, toward the inside of the opening and stitch the opening closed making sure to back stitch at the beginning and end.


In order to warm, place in microwave and heat in 30 second intervals.  Remove between each interval and move around so no area of the flax seeds get over heated.   It could take 3 to 5 intervals depending on the power of your microwave.

I don’t recommend adding oils or fragrances to the filling since the heat pack will be placed in the microwave.

This heat pack can also be frozen for a cold pack.  Just place in a ziploc bag in the freezer and use as needed.

I am linking up with Giveaway Day at Sew Mama Sew.  Be sure to visit and check out all the other great giveaways!


Now for the giveaway!  Wouldn’t you like to make your very own hot/cold pack?

This kit has enough fabric & flax seed to make two…so you can make one hot and one cold!

I love these packs.  I have 2 in my freezer and one always ready to microwave for my sore achy muscles.  When my muscles are tight they get the hot pack and when they just hurt they get the cold pack.  I love to use my cold pack on my neck when I get headaches!


Leave a comment and tell me what you prefer for your sore muscles….hot, cold, or both. Please be sure to leave an email address so you can be contacted if you win.

Comments will be closed on December 11th at 5pm PST.  A random number will be chosen from the comments and announced on Monday, December 12th at noon PST.  This giveaway is open in the USA only.

***The winner of the giveaway is Cathy C.  Thank you everyone for leaving comments.  Whether you like hot or cold or both, I hope you will make more than one so you can have a hot & cold pack for all those aches & pains.

If you make one of these hot or cold packs from the tutorial be sure to share on social media using the #penguinfeatshotandcold and tag me @penguinfeats


Posted on 5 Comments

Terry Potholder Tutorial & Giveaway

finished2

I developed this pattern for potholders when I couldn’t find any terry potholders that were thick enough for me to use without feeling the burn.  It seems all the potholders are cotton fabric with a thin layer of padding…and the cotton fabric doesn’t wash up as nice as the terry cotton.


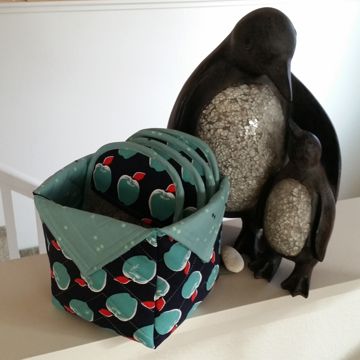
The Fabric Box for the potholders is made using this tutorial from Seaside Stitches.  I cut my fabric squares at 18 inches and stitch 4 inch corner triangles since I used a larger fabric square.  I find this size to be perfect for holding 4 potholders and a couple towels.


What you need to make 4 potholders

Potholder template [download here]

1 bath towel [I recommend a very inexpensive 100% cotton towel.  Heavy thick towels are too thick to quilt. Some towels are big enough to cut 8 potholders from.]

Cotton batting [1 layer 1oo% cotton batting the same size as your towel]

Cotton thread 40 or 50 wt.

1 Fat Quarter of fabric A for pockets

½ yard of fabric B for bias binding (or 3 yards bias binding)


Layer:

layers1


Lay the towel out flat with single layer of batting on top. Fold the towel and batting in half with the batting in the center.  If there is a non terry edge to the towel, don’t layer this part and don’t quilt this area.


pinbaste


Pin baste in place.


Quilt:

use masking tape to mark quilt lines


Using a long ruler, mark one diagonal line with painters tape.


quilttape


Using a medium stitch (about 3 mm) stitch along the tape line.

Using a seam guide, stitch lines 1 inch apart over entire towel surface.

Don’t stitch on the non-terry part of the towel.


*using a walking foot is very helpful to get even lines without puckers or folds.


mark2


Using a long ruler, mark one line perpendicular to the stitched lines with painters tape. Using a medium stitch (about 3 mm) stitch along the tape line.

Using a seam guide, stitch lines 1 inch apart over entire towel surface.


*if you want to have diamonds, mark this line at 60 degrees instead of 90 degrees.

Download and print the template. Be sure to print at actual size or the potholder base will be too small.

Cut:

tracetemplate


Mark outline of the potholder base using a thick marker.

It helps to stitch just inside the marked line to prevent stretching and unraveling of the terry cotton.

Cut the potholder base along the marked line. Don’t cut inside or outside the line, cut along the marked line.


Cut 6 inch wide strips from Fabric A.  Press in half lengthwise so you have 3 inch wide strips.

Topstitch along folded edge at ¼ inch.

Cut the strips into 5 1/4 inch lengths.

Cut 1 ¾ inch bias strips from fabric B.  I recommend the 25 mm bias tape maker for the potholders.

Join strips to make one continuous strip.  Press the seams open and trim ears.

makebias


Using bias tape maker press the bias strip.


Assemble:

Pin pockets to potholder base matching side edges and top edges keeping the folded edges straight.  Baste pockets to the potholder base with 1/8 inch seam.  Trim corners off pockets to match potholder base.

pockets


stitchbias


Beginning on straight side, stitch bias tape to potholder front using ¼ inch seam matching the raw edges of the potholder with the raw edge of the bias tape.


trimbiasends


Trim the ends of the bias binding so the overlap is the same length as the width of the bias binding.


mitrebiasends


Join the ends of the bias tape by stitching across the outside corners.


Stitch down the remaining section of bias binding using ¼ inch seam.
biasfinish


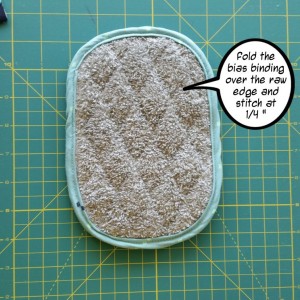
Fold bias tape over raw edge of potholder base.  Stitch bias tape down on potholder back using ¼ inch seam.


And now for the giveaway…yes…I will be giving the cute little box and potholders to one lucky Instagram follower!  If you want to have a chance to win this lovely set do just two little things…

1. Follow PenguinFeats on Instagram

2. Repost the giveaway pic on Instagram using #handswontburn and tag @penguinfeats


I will randomly select one person to send the potholder set to.  This giveaway will end 10 April 2016 at midnight HST.   Open internationally.

The giveaway has closed.  Thank you for participating! And the winner is…..

Barbara T.