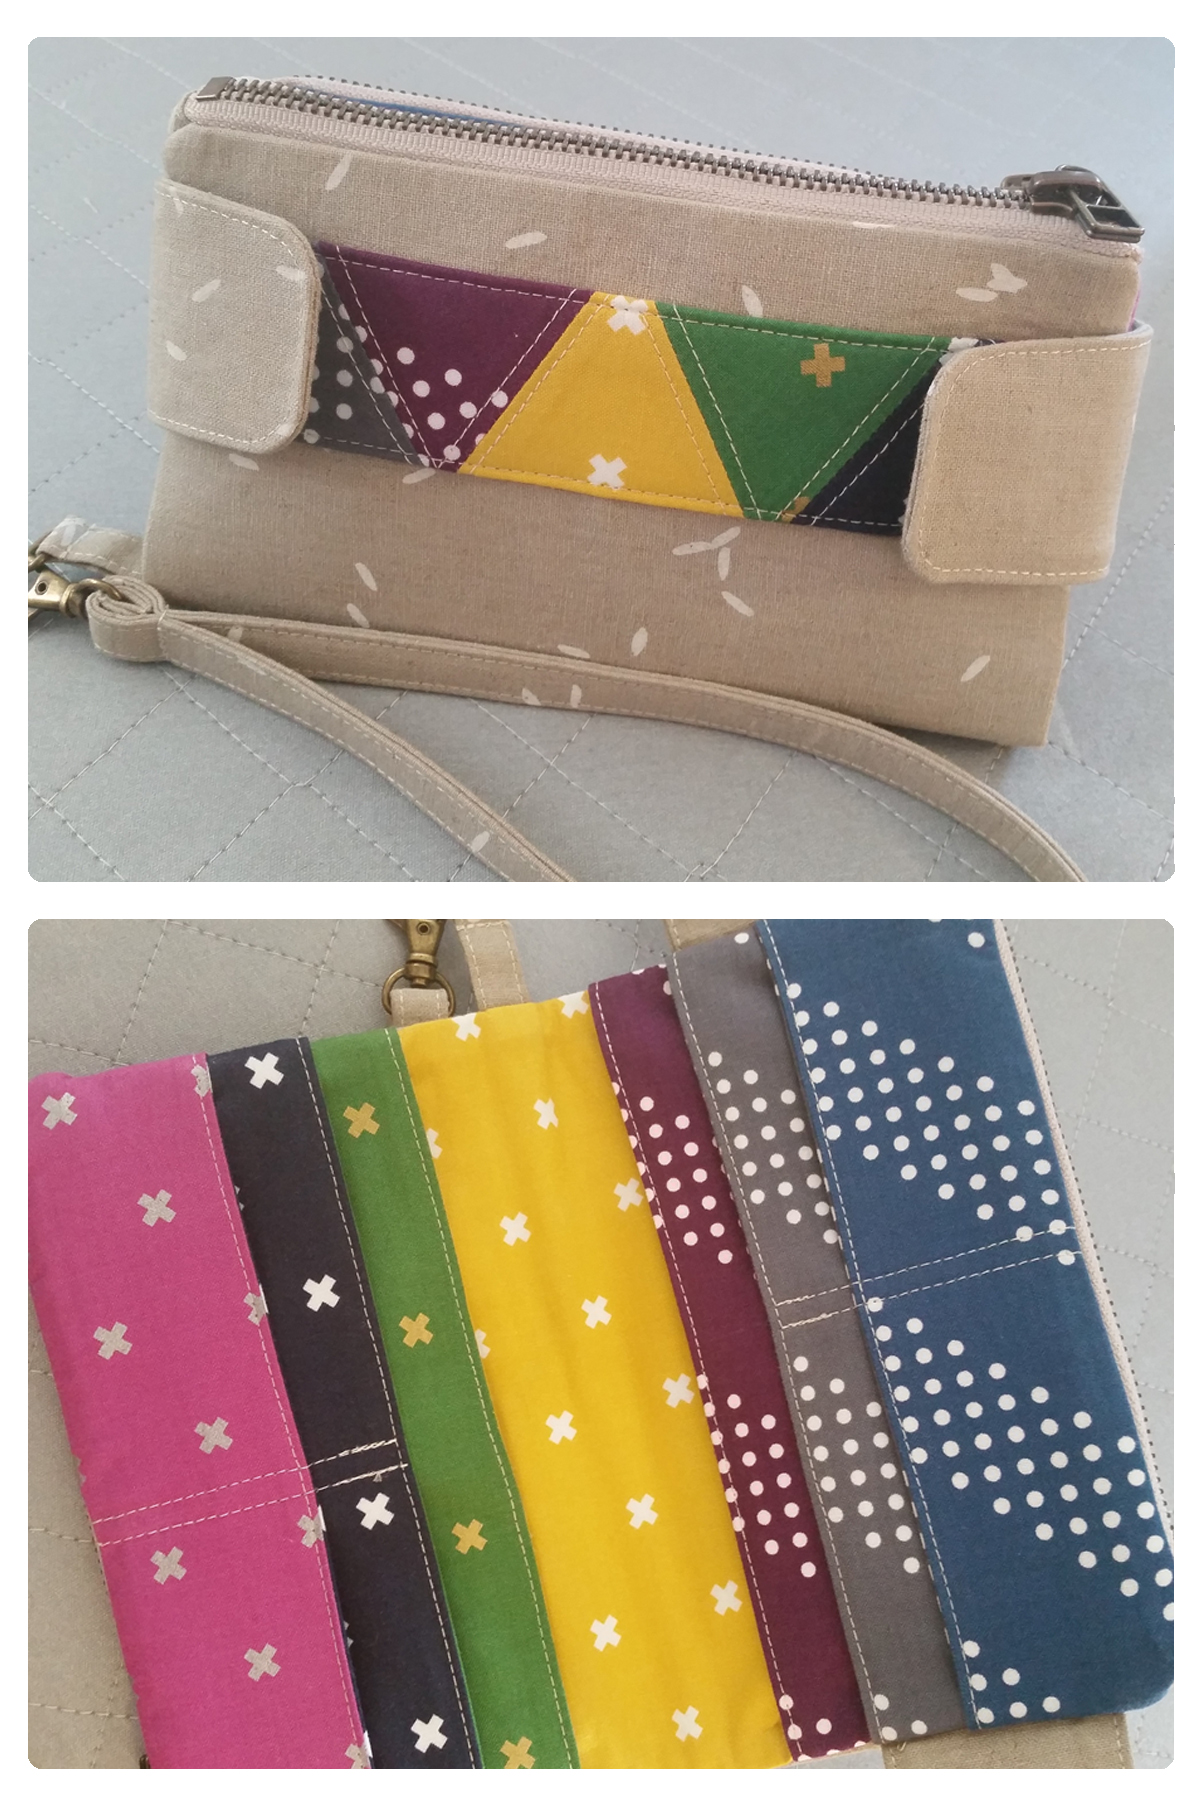

Oh Della….what fun we can have with you!! Please visit the Swoon Sewing Patterns website to purchase the pattern so you can create your own unique Della Wallet Clutch!!
Look how much fun you can have with fabric if you split up the pleated panel with different fabrics. I like to split pleats because it makes creating the pleat much easier and the pleat is much crisper.
At step 6 in the Della instructions, instead of having one long piece of fabric you will need to create each section for pleating including the fusible interfacing.
From the fabric you will need to cut
-2 pieces 2 ½ inches by 8 ½ inches
-4 pieces 4 ¾ inches by 8 ½ inches
-1 piece 11 ¼ inches by 8 ½ inches
From the fusible woven interfacing you will need to cut
-2 pieces 2 ¼ inches by 8 ½ inches
-4 pieces 4 ¼ inches by 8 ½ inches
-1 piece 10 ¾ inches by 8 ½ inches
First fuse the interfacing to the wrong side of each piece centering it so there is a ¼ inch seam allowance along the 8 ½ inch edge of each piece. Each small 2 ½ inch piece of fabric will only need a ¼ inch seam allowance along one of the 8 ½ inch edges.

Arrange your pieces so you have 1 small piece on each end, 2 medium pieces next to each of those with the largest piece in the center.

Match the edges with seam allowance right sides together. Pin or clip in place. I like to use lots of clips because I cannot poke my fingers with them!!

Stitch your edges together with 1/4 inch seam allowance getting close to the interfacing, but, try not to stitch on the interfacing as it may bulk up the finished pleat.

From the wrong side, press each seam to set.

From the right side, press the seam allowances to one side.

Press each seam with wrong sides together trying to create a straight pleat with the seam centered and fabric on each side.

Topstitch each pleat at 1/8 inch from pressed edge.

You now have the panel with pleats and are ready to mark and finish following the pattern instructions.
You can continue with the pattern instructions where it says…
“Now, fold the entire Pleated Panel……”
I have created a PDF file for download if you want to try creating the split panel for Della while offline. Get the tutorial in PDF here.


This modification is fabulous! ! Thanks for putting it together for us. I’m just about to try my first Della! Have you ever split the outer panel for directional fabric?
So happy you like this Della Mod! I have not tried to split the outside panel yet, but, I have some fabric that would be perfect for it. You just might see a post about that very soon! Thanks!
Me again. I’m just in the middle of making my first wallet, and I am using a split directional fabric for the outer. Will let you know how it goes. I’m not doing a full split inner lining as I don’t have enough co-ordinating fabrics. However, just in case I did I was reading through your instructions and the total of pieces doesn’t add up to the lining dimension in the pattern. Can you please double check my math?
Yes…it is a bit shorter. I made the center panel a little shorter so it isn’t so deep….dollar bills fit in there and peek out just a little rather than being hidden behind the card slots. Your math was correct!